Author Topic: shaker activation  (Read 5839 times)

0 Members and 1 Guest are viewing this topic.

Offline Joker (§ir£Ðragon)

  • Lifetime Member
  • *****
  • Posts: 4994
  • When you think it can't get any worse...God laughs
Re: shaker activation
« Reply #15 on: March 28, 2008, 02:30:21 PM »
haha, i bought my 79 t/a off of a friend of mine, and when he had the car, it had the original engine in it, and he blew the original engine because he cut open the back of the shaker scoop to let air in for more power. ---he drove the car in the rain, and the rain was sucked into the carb into the engine and killed the engine. So, when I bought the car, I took a small piece of sheet metal and sealed the back of the scoop up when I got the car re-painted. --I also put a new 403 engine in it too. haha
kinda funny story, but sucky at the same time because it killed the original motor

Had to be more to it that just the rain water. I've driven many cars as dailey drivers with open scoops, tunnel rams with the air cleaners well above the hood and just no hood at all and never had a problem with rain.
Larry


Offline cuog

  • Member
  • **
  • Posts: 106
Re: shaker activation
« Reply #16 on: March 29, 2008, 01:15:21 PM »
The problem might have been that it sat in the rain, and watter went in and pooled in the carb, would want to watch out for that when setting things up making sure water can't get directly into the carb via gravity, usually an air filter can solve that.  On the other hand getting small amounts of water into the intake, such as when you're driving in the rain is actually better for your engine and can give you a small boost in power and fuel economy.
'79 Trans Am 403 Olds hardtop
Maybe a hybrid dune buggy too?

Offline Joker (§ir£Ðragon)

  • Lifetime Member
  • *****
  • Posts: 4994
  • When you think it can't get any worse...God laughs
Re: shaker activation
« Reply #17 on: March 29, 2008, 02:21:53 PM »
That still makes me wonder. The bottom of the air cleaner site close to an inch lower than the top of the carb. Rain would normally run out the air intake tube/heat riser before rising enough in the air cleaner to soak through the filter and enter the carb.
Larry


Offline cuog

  • Member
  • **
  • Posts: 106
Re: shaker activation
« Reply #18 on: March 29, 2008, 02:37:50 PM »
Theres also PCV valves that connect to the air cleaner assembly, if a drain hole wasn't made, water may have gone into one of these, and I'm not an expert but watered down oil is probably not good for an engine.
'79 Trans Am 403 Olds hardtop
Maybe a hybrid dune buggy too?

Offline Joker (§ir£Ðragon)

  • Lifetime Member
  • *****
  • Posts: 4994
  • When you think it can't get any worse...God laughs
Re: shaker activation
« Reply #19 on: March 29, 2008, 05:35:33 PM »
That's a possibility. The breather tube is a little lower than the "hump" in the air cleaner. And the filter is just fiberous rather than a dense weave or paper. If the plastic fitting that holds it were not sealed right or broken off/missing (or I have seen them installed upside down) that's water might get in there.
Larry


Offline Doug

  • Member
  • **
  • Posts: 144
Re: shaker activation
« Reply #20 on: March 31, 2008, 10:45:14 PM »
That's a possibility. The breather tube is a little lower than the "hump" in the air cleaner. And the filter is just fiberous rather than a dense weave or paper. If the plastic fitting that holds it were not sealed right or broken off/missing (or I have seen them installed upside down) that's water might get in there.

Or he could have just done what I have seen a number of times... Tried use it as a submarine to go through a deep puddle.  Water just doesn't compress like air ;-)

Offline warbirdta79

  • Jr. Member
  • *
  • Posts: 59
Re: shaker activation
« Reply #21 on: April 01, 2008, 11:04:23 AM »
PREPARE FOR DIVE!!!!!!


DIVE DIVE DIVE
I took the restrictor plate off to give it a little more power. Lets keep that on the down low, its kinda illegal.

Offline Mayan78

  • Member
  • **
  • Posts: 161
Re: shaker activation
« Reply #22 on: April 03, 2008, 07:47:27 PM »
Got my install done finally. The instructions that come with the kit are excellent, so I only did a couple of pictures...

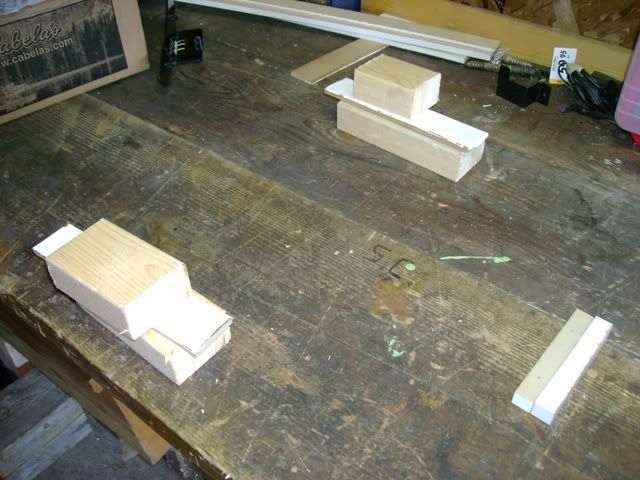
1.) Built a bit of a cradle to hold the shaker level...


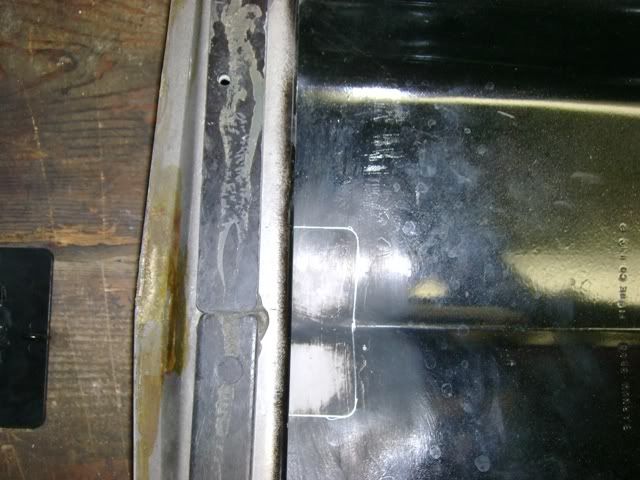
2.) Figured out the correct location for the mounting and marked the area, then spread on the JBWeld...


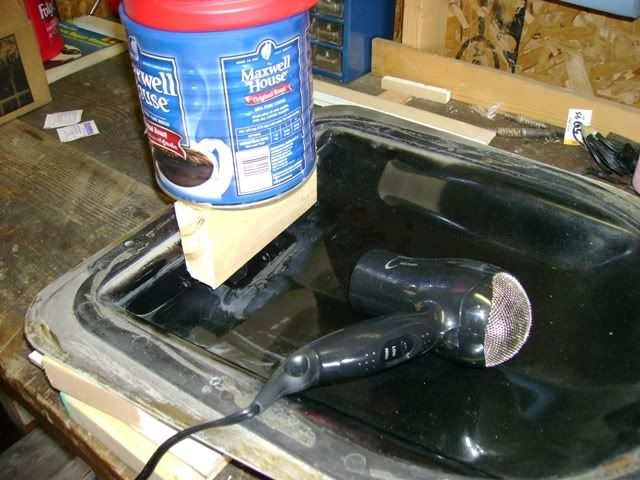
3.) Added some weight, and because it was a little cool out ran a hairdryer on it for a while (don't tell the wife!)...


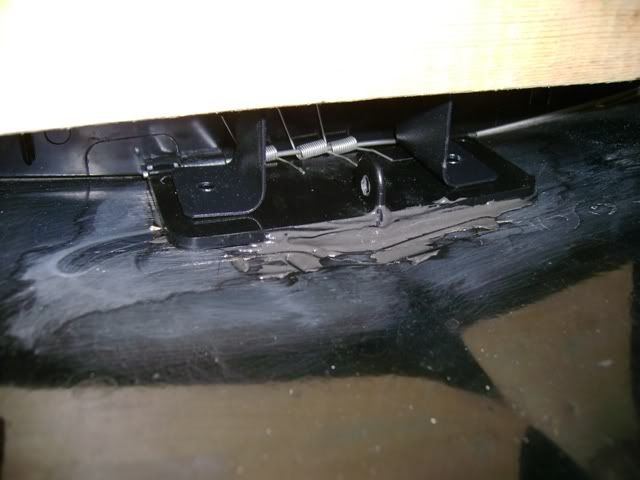
4. That was it! The JBWeld sets up pretty quick, so neatness isn't easy (or necessary I think) just make sure it doesn't get into the return springs...


My shaker was already cut open, so I didn't have to worry about that part. The instructions don't mention having to remove the metal mounting plate that connects the shaker to the carb, but I think it would be hard to do without removing it. As I was repainting my shaker anyways, drilling out the rivets and remounting the plate later wasn't an issue either.

All in all it was a simple process, and the whole thing works great. Again, the instructions are excellent so just following them it should be easy for any back-yard handyman/woman to do, just take your time.

Offline P-Js_BLKBRRD

  • Member
  • **
  • Posts: 125
Re: shaker activation
« Reply #23 on: April 04, 2008, 08:37:41 AM »
Have done alll the prep work and test fitting of the pieces.  The shaker I bought off eBay was also already cut (just had to smooth out a few rough spots).  As soon as the scoop gets painted can do the assembly.  Thanks for the pics...!!!
"BLKBRRD"

Offline Mayan78

  • Member
  • **
  • Posts: 161
Re: shaker activation
« Reply #24 on: April 04, 2008, 08:51:53 AM »
I did my painting after the install, so the new rivets would get painted. I was also less worried then about scratching the shaker during the install. As the flap is normally closed no paint got inside to touch the solenoid. I also left the flap to be painted body color, as it will be more noticible when it opens.

Just my .02

Offline Mayan78

  • Member
  • **
  • Posts: 161
Re: shaker activation
« Reply #25 on: April 04, 2008, 10:27:54 AM »
The final product...

(Just needs a few coats of wax)


Offline P-Js_BLKBRRD

  • Member
  • **
  • Posts: 125
Re: shaker activation
« Reply #26 on: April 04, 2008, 01:05:40 PM »
LOOKS GREAT...!!!

Did all the drilling and such so there isn't much left to do to put it together.  I didn't separate the scoop from the metal so the rivets will get painted over anyway.  The body guy wanted to do the painting first and then the assembly so that's the way it will go.  Besides the car is black so the flapper is already "color matched".
"BLKBRRD"

Offline 1981turbotransam

  • Member
  • **
  • Posts: 341
  • trubo charged pace car
Re: shaker activation
« Reply #27 on: April 29, 2008, 03:44:35 PM »
so how much was the kit
GREATER LOVE HATH NO MAN THAN TO LAY DOWN HIS LIFE FOR A FRIEND
1980 Indy Pace Car Turbo Trans am 301T
1977 Pontiac Trans Am 400 Auto SE Hardtop
looking to buy a 1980-81 Trans Am

Offline Mayan78

  • Member
  • **
  • Posts: 161
Re: shaker activation
« Reply #28 on: April 29, 2008, 03:57:00 PM »
Year One has them for $145. I think the kickdown switch is a little more.

Ames Performance has them for $169.

Just do a search on "shaker" to find them at both places...
« Last Edit: April 29, 2008, 04:04:44 PM by Adinirac »

Offline 1981turbotransam

  • Member
  • **
  • Posts: 341
  • trubo charged pace car
Re: shaker activation
« Reply #29 on: April 29, 2008, 11:24:55 PM »
ok
GREATER LOVE HATH NO MAN THAN TO LAY DOWN HIS LIFE FOR A FRIEND
1980 Indy Pace Car Turbo Trans am 301T
1977 Pontiac Trans Am 400 Auto SE Hardtop
looking to buy a 1980-81 Trans Am