Carpet Install 1979 Trans Am:
Provided here is my father/son/daughter experience with installing a new carpet into my 1979 Trans Am. There are many great resources out there, including Hitmans carpet section and several good threads here on 78TA.com. But I wanted to provide some pictures for people like me that hadnt done this before. I did install carpet in my 1976 Camaro back in the early 80s, but that was a long time ago, and I had forgotten a lot. There also are some good videos on the ACC site that makes the carpet for many of the aftermarket parts companies. Even those videos are of a Mustang, they are still useful. Also, Fbodywharehouse has some good videos on removing rear seats, center console, installing the insulation/sound deadener, etc. Finally, this is the way that I did it. I am sure there are other and probably better ways to do this job. I dont do this for a living and am under no delusions that there arent better ways to do things. I did get a lot of information from the 78TA site, as Ive been contemplating doing this for some time. If anyone wants to offer any other suggestions here, please feel free. In the end, this was a great father/son/daughter project.
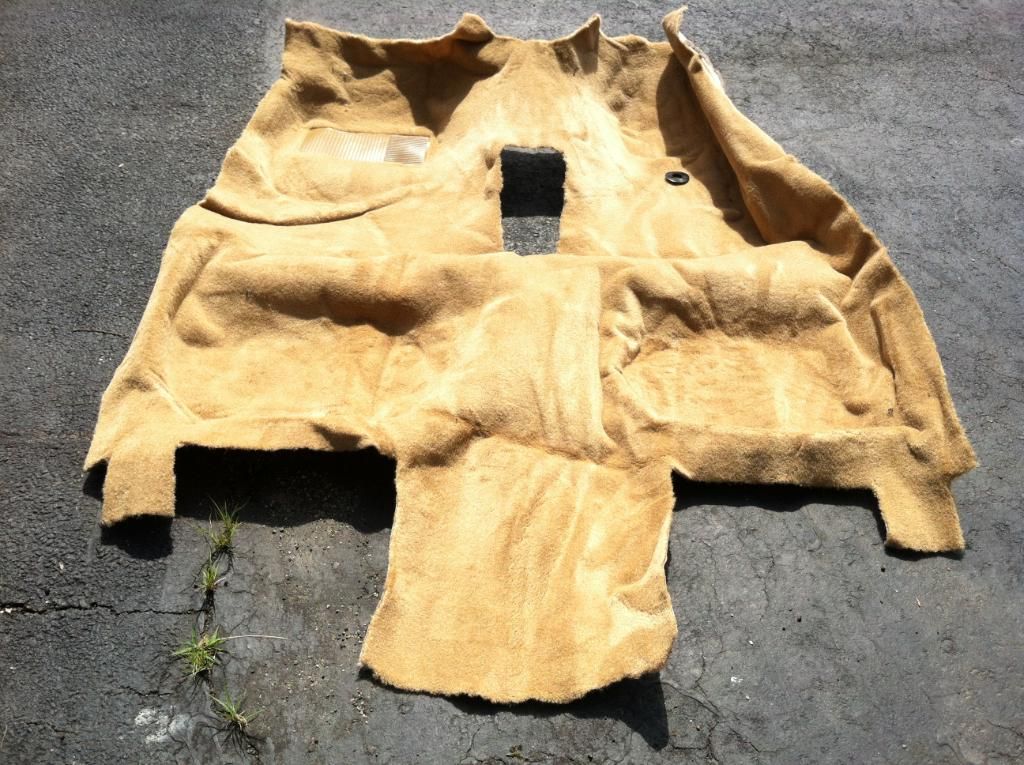
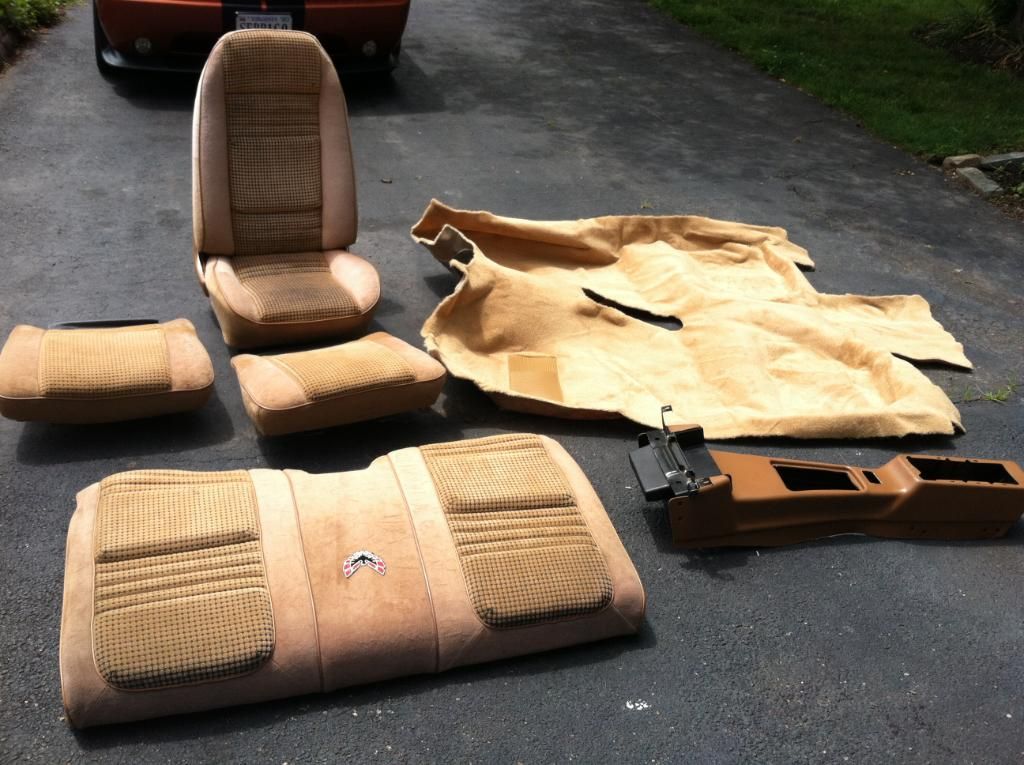
The first thing we did was to take out the new carpet from the box and lay it out on my driveway in the sun. You have to punch out the shape of the fitted sections, and the suns heat helps to smooth it out:
This was my interior. The original owner had replaced the carpet about 20 years ago. He used house carpet and I was never happy with it since I bought it from him. The carpet matched well in color, but it didnt have the heal pad on the drivers side, and it wasnt the original cut pile that came in the Trans Ams originally. In addition, I could tell the areas where he pieced the carpet together in several pieces and glued it to the bottom.
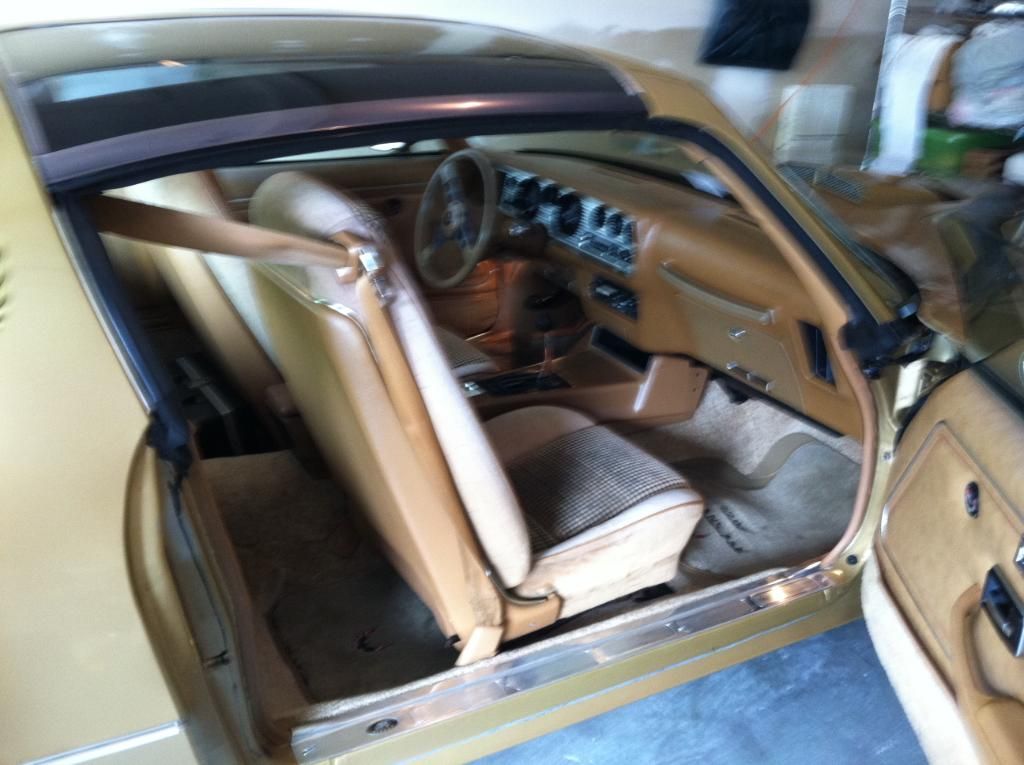
So we started by removing the passenger door sills and the passenger seat. The sills were easy. The seats can be tricky. There are four bolts that hold the seats down. We started by loosening the two rear bolts, but not removing them. Then we moved the seat back all the way to be able to reach the front two bolts. We removed them, and then used our fingers to remove the back two bolts. The thing is, you cant remove all the bolts without moving the seat, and moving the seat becomes tricky once the bolts are out. Then we removed the seat belt retainer piece near the top of the seat so the seat could come out. After removing the seat, we then removed the seat belt retainer bolts. There are two of these, and they use a TORX 50 bit. We had to use penetrating oil to get them to move. But once we did, they came out pretty easy.
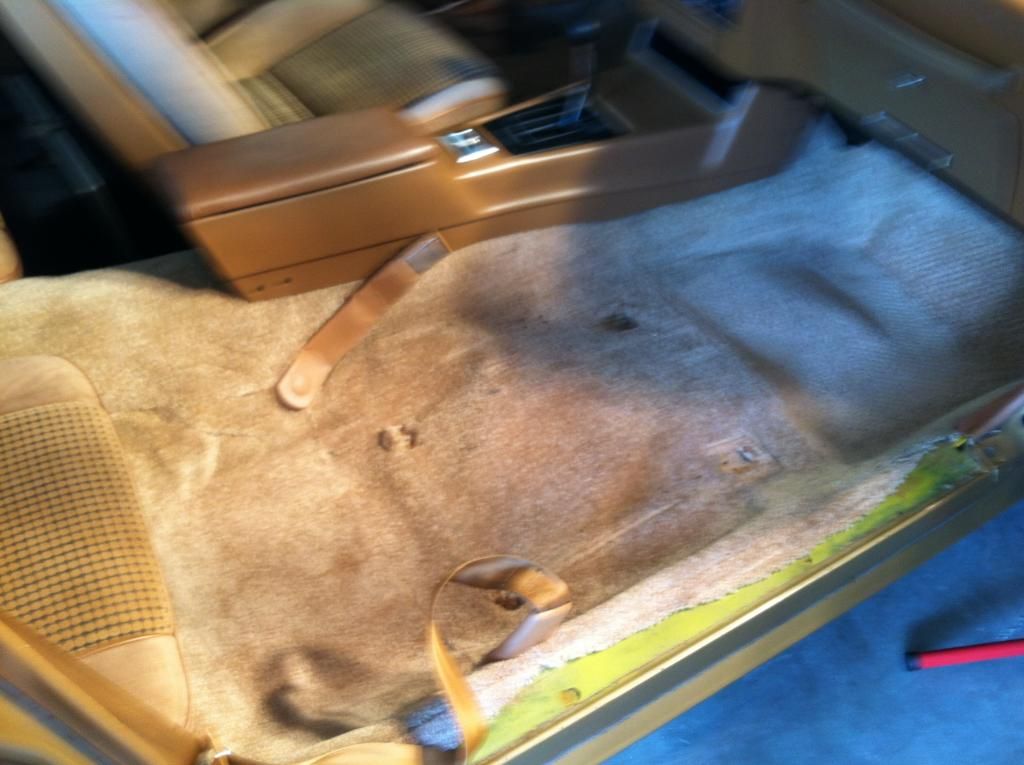
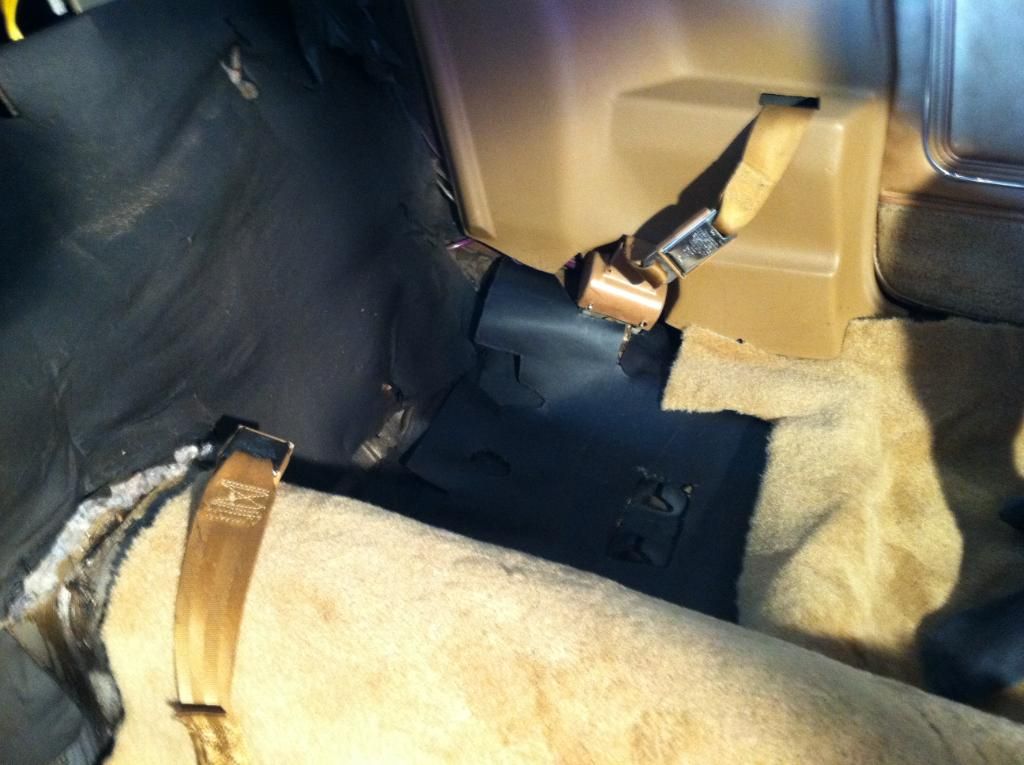
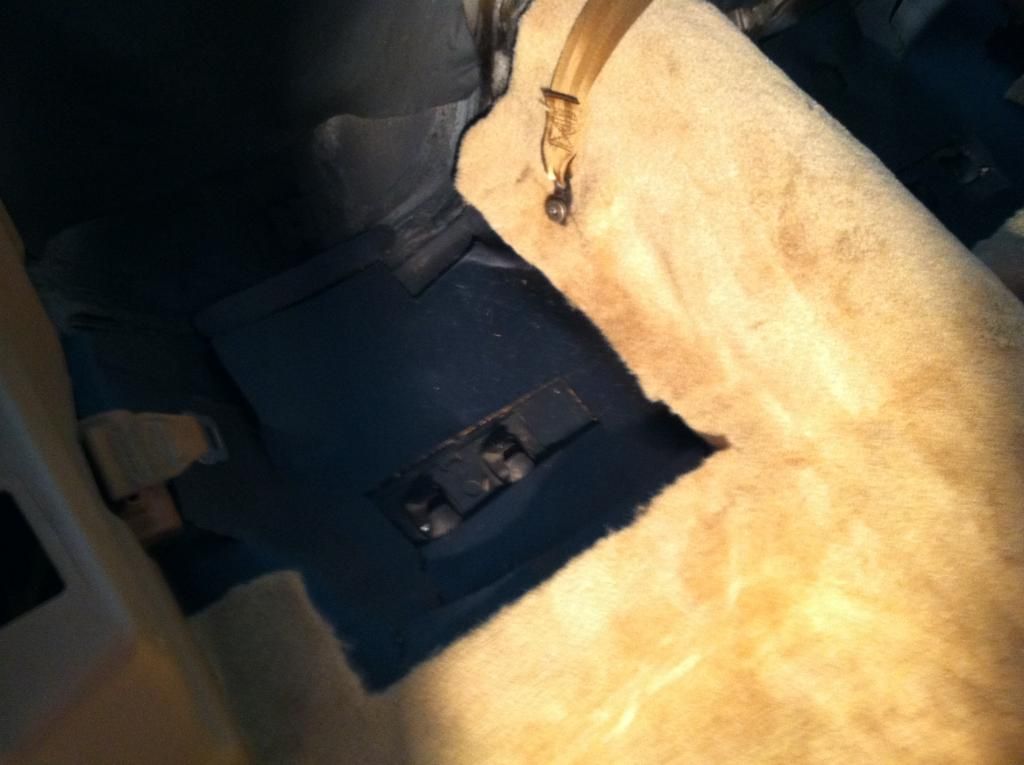
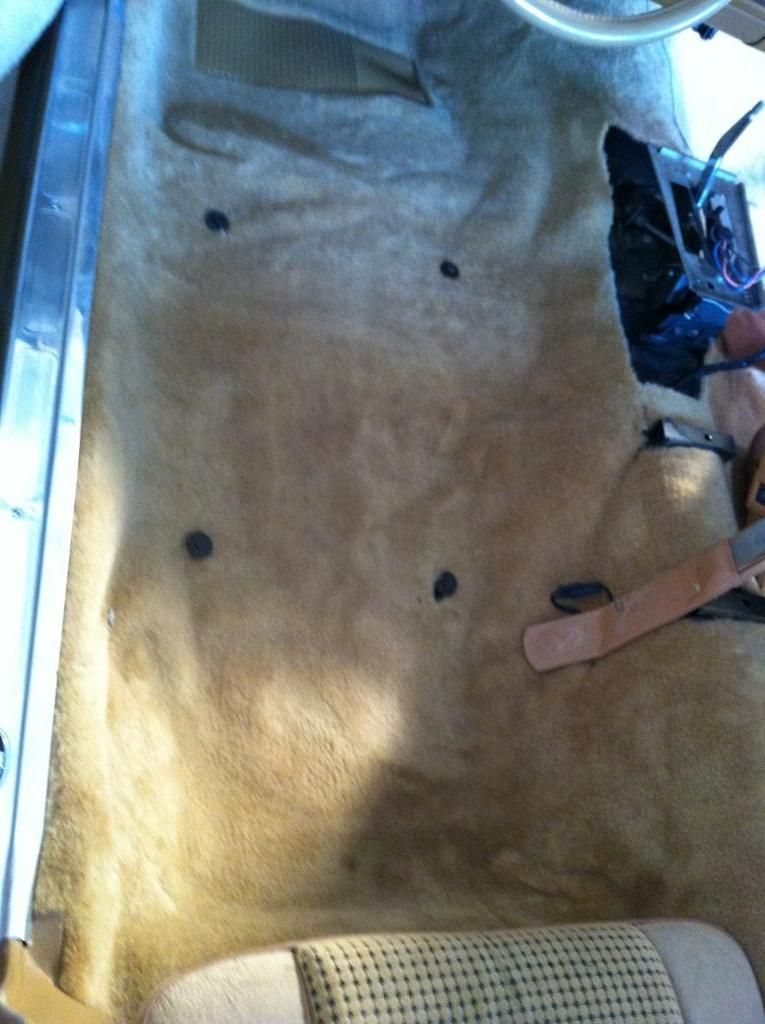
Next, we removed the rear seat bottoms. Just push down from the front and pull up. They pop out pretty easy, although I have heard that some people really have trouble with these. Fbodywharehouse has a great video on taking these out. The next thing we did, was try and remove the rear seat belt retainer bolts. I had to do this because the original owner ran carpet all the way under the seats. The ACC carpets dont go under the seats all the way. However, when I went to take these bolts out, they wouldnt budge and I ended up stripping the star shaped hole on the TORX bolt on the passenger rear seat. So I left it in and cut the carpet so I could remove it.
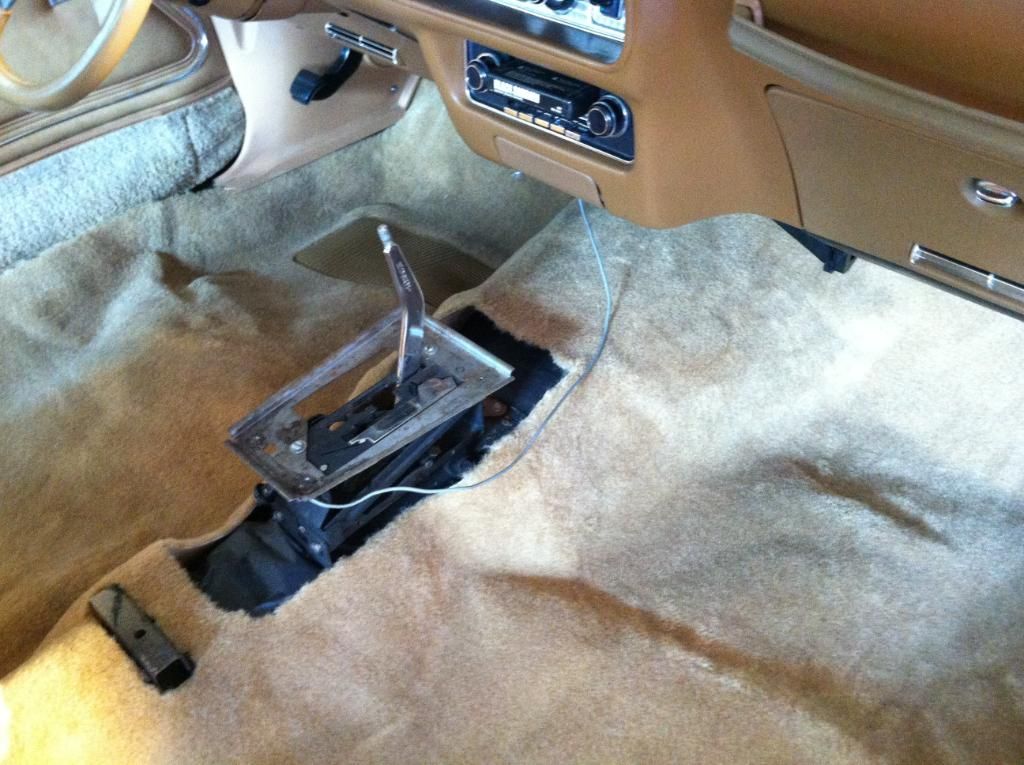
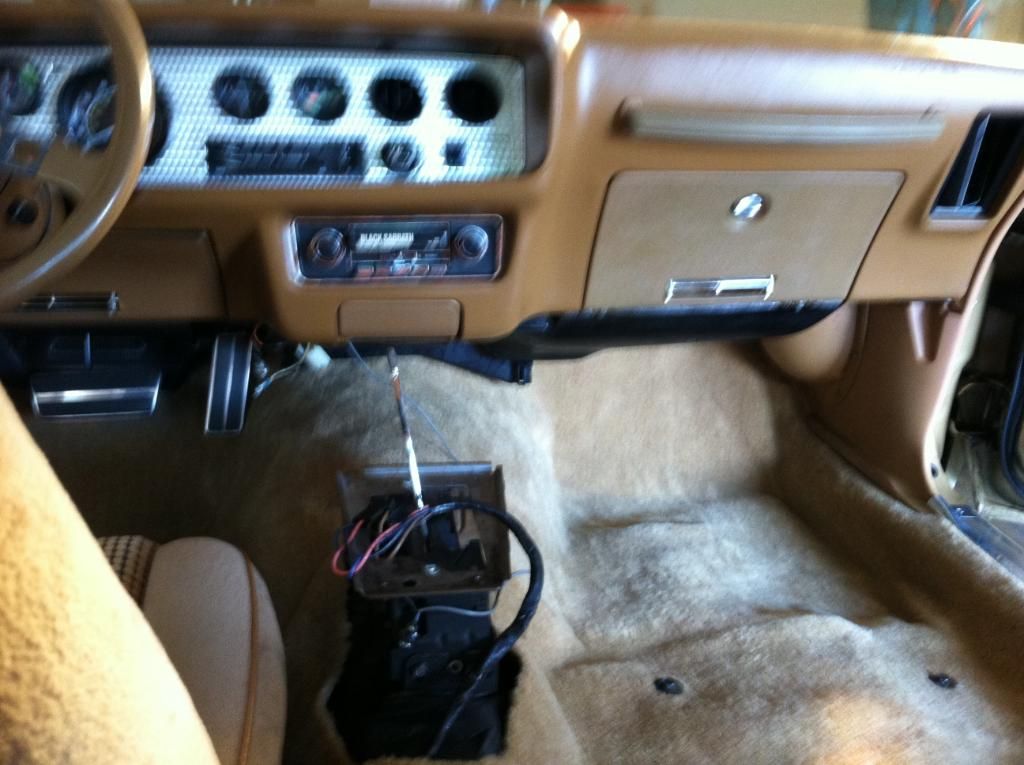
Next came the center console. We started by taking out the center console lid/box. There are two bolts in the bottom. After taking out the box, there are two more bolts underneath holding the back of the console to the floor. There also are two bolts on each side of the map box under the radio. I have a Hurst Dual Gate shifter on mine, so it was easier than taking out the factory shifter. To do that, you have to pop out the Trans Am emblem, remove the retainer clip, and it comes off. For the Hurst Shifter, I just had to unscrew the ball. Then there are four allen bolts on the shifter plate. Once these are off, the console should come off by lifting up and back. If you have power windows like I do, you can pull up on the power wind switches and unclip the wiring harness before you remove the console.

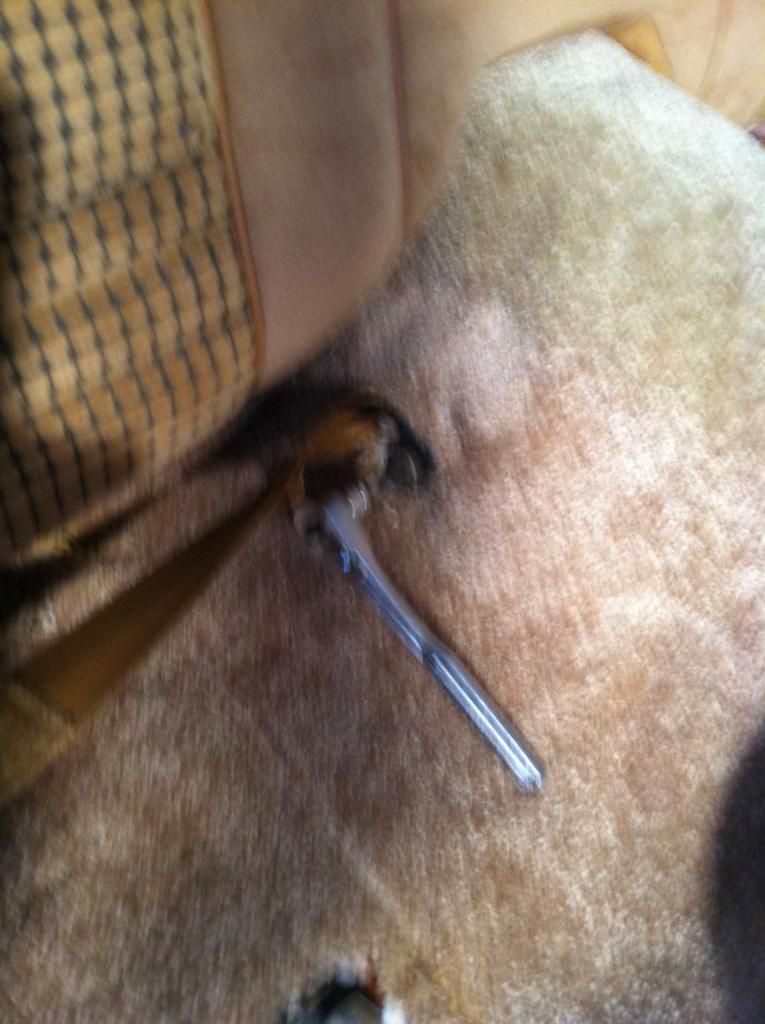
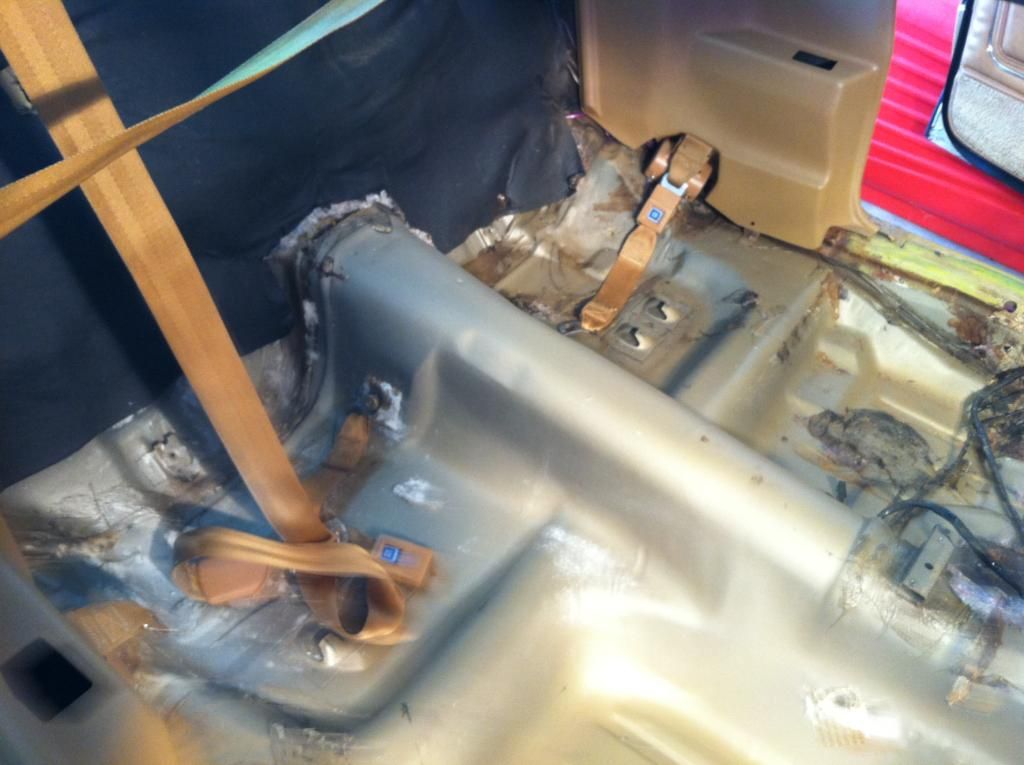
So, from here, we removed the other rear seat bottom. Then we removed the rear seat back. There are two bolts on the bottom of the rear seat back, one on the passengers side and one on the drivers side. After these are out, the rear back seat simply lifts up. Then we removed the drivers seat, using the same technique as the passenger seat. Then we removed the drivers side seat belts. On the driver;s side, there is a wire which provides the feedback to the seat belt warning buzzer and light, You have to unclip this before removing the right side of the drivers belt. Then we removed the other door sill. After this, we had all our interior pieces out.
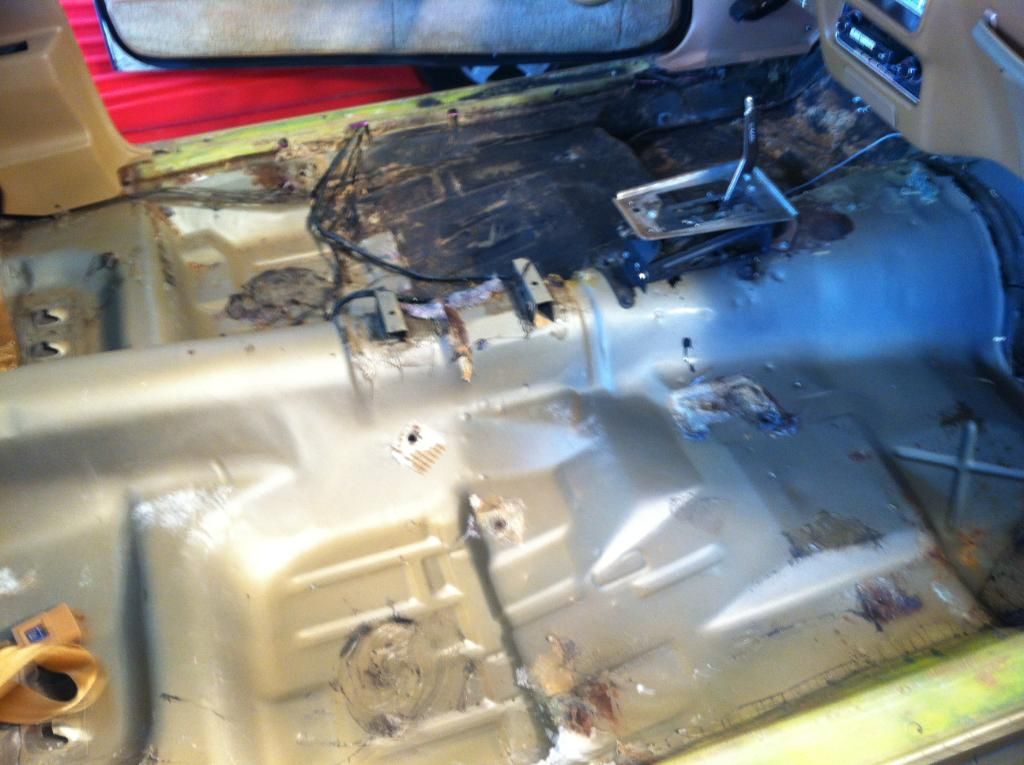
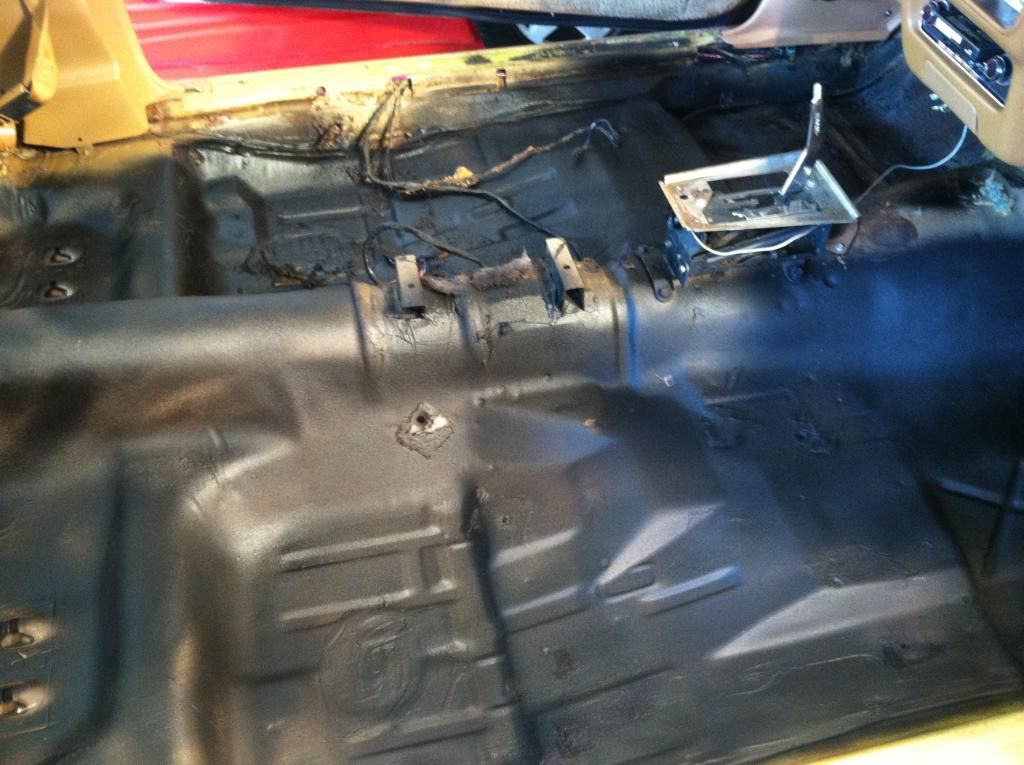
From here, there are some differences in what people recommend. For us, we did not have to remove the kick panels, or the panel behind the pedals on the drivers side. Once we started removing the carpet, it pulled out easily from these areas. With the carpet out, we then removed the sound deadener and insulation. I was impressed with the shape of the floor pans. You could have eaten off them!
The next step also raises some difference of opinion. I chose to put the 3M Rubberized undercoating on the floor pans. I realized that after 33 years, they were in immaculate shape, but I intend to keep this car forever and I wanted the extra anti-rust protection of the undercoating. So we vacuumed out the floor pans, scraped off all the glue and cleaned up the floors, then sprayed it with the undercoating. Be carful not to accidently spray your interior pieces with the undercoating. I also took this opportunity to re-dye some of the interior pieces, like the passenger arm rest sections and the kick panels. They were already in decent shape, but since I had the interior apart, I thought it made sense. I used the SEM Camel Dye from Fbodywharehouse and the clear coat. Although the Ames stuff also is great and others make excellent paint too. Once I put the clear coat on, we let the whole interior dry overnight. By the way, the clear coat really removed that dry rot feel that the rear passenger arm rest plastic had felt like before we re-dyed it.
Now, the carpet was ready to re-install. Again, Ive read a lot of different opinions on how to proceed here. I think I used a combination of advice. What we did was oiled and put in all the bolts for the seats and the seat belts -- just turned them by hand, not all the way. We also taped down the wires to the drivers side seat belt and the power window harness. We then put in a new set of sound deadener. After letting it sit in the sun for a tiny bit, it got good and soft and allowed us to contour it to the bottom very easily. Once we had all the bolts in and the deadener down, we put in the carpet. The ACC carpet is excellent and lays down perfectly. We started in the middle and slowly worked out to the edges, smoothing things as we went. No need for glue at the carpet in kept in place by the interior pieces. We were able to tuck the carpet up under the kick panels and the rear passenger arm rest pieces. We then installed the door sills to hold the carpet in place.
From here, we located the 8 seat bolts and the various seat belt bolts. We used carpet knives to cut out about ½ to ¾ holes over the bolts. The we pushed the bolts through the holes.

Next, we put in the rear seats and seat back.
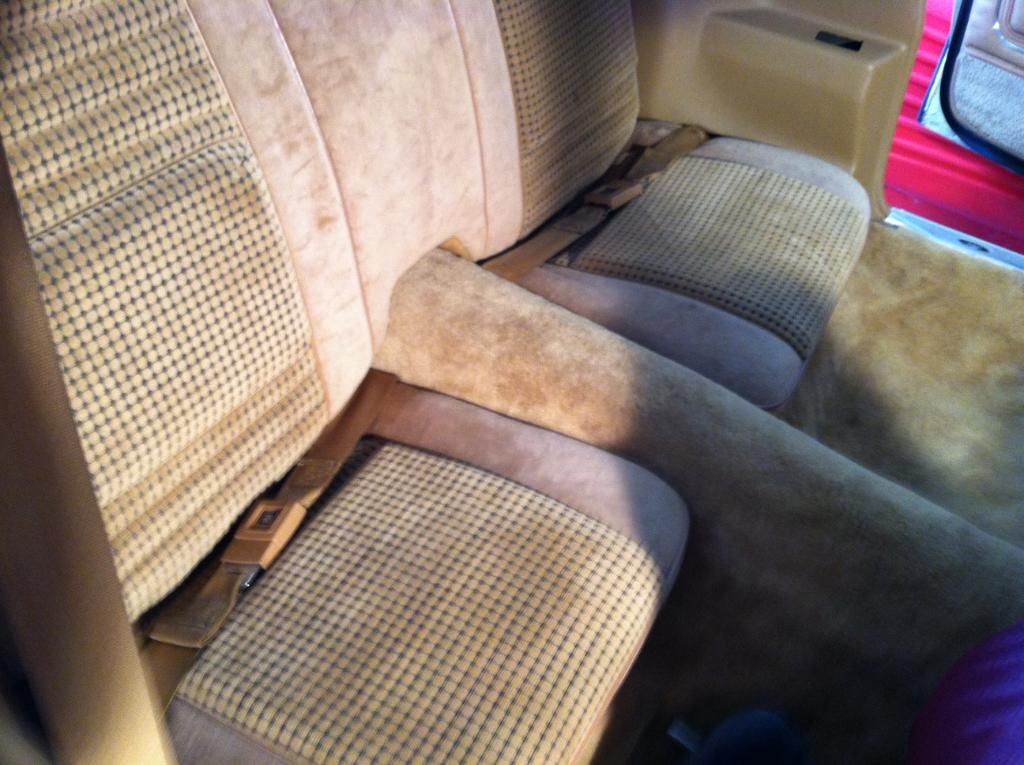
Reinstalled the seat belts:
Reinstalled the drivers seat:
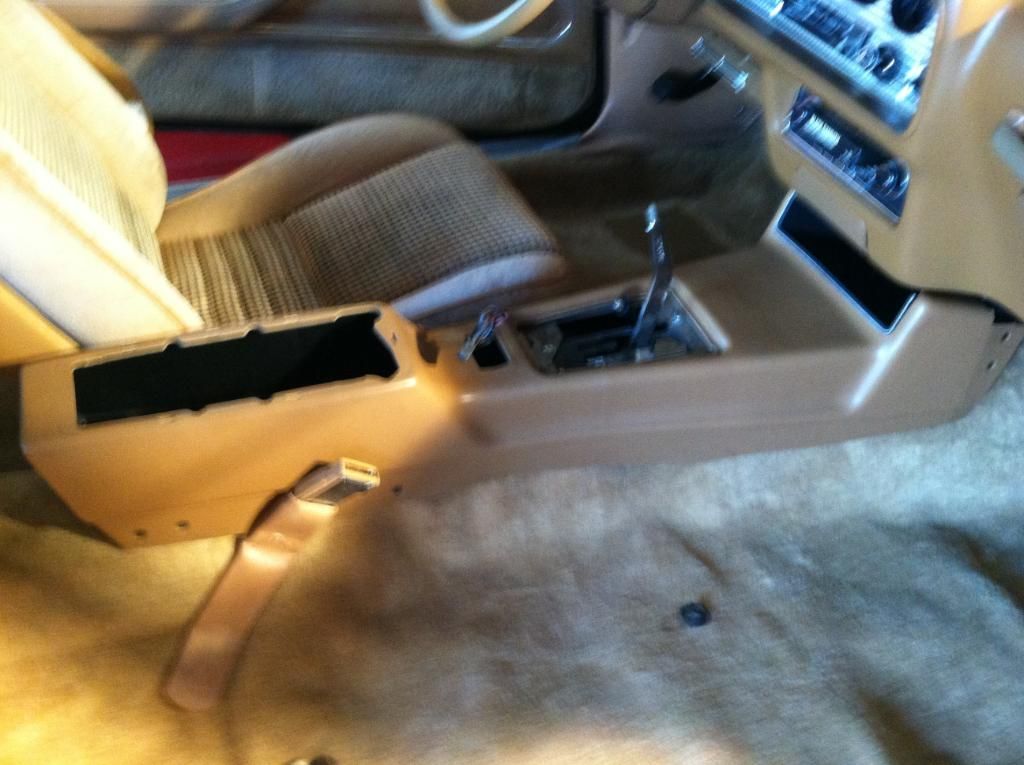
Then the center console and the passenger seat, door sill.
All in all, this was a pretty easy job, provides fantastic results, and was a great project for me to work on with my kids. The carpet looks fantastic and I am so much happier with this than what was previously in there. I hope this little guide helps anyone else that needs to do this job and isnt sure about it.


