Hi guys. I thought you may like to follow along with this.
As you all know, Jason D does some fantastic work on his customer's TA's. Heck a lot of them are from right here! Needless to say, the jobs turn out very nicely and I am pleased and proud to be a part of his latest job for one of his customers. Jason sub contracted the seats out for me to do in NOS black hobnail and lombardy. The owner of the car wants perfection so hopefully we can pull off a sweet job in the end.
Follow along as I go and you guys can see what goes into making a set of seat covers for the 1979 Trans Am. I will be doing all of the sewing and etc in house. NOS material is still on the way, but here is the start of the project. I am more or less just going to document the job with pictures as I go and not talk so much about how to do it. IF you would like to read about how to install your own seat covers, go to my previous post here...
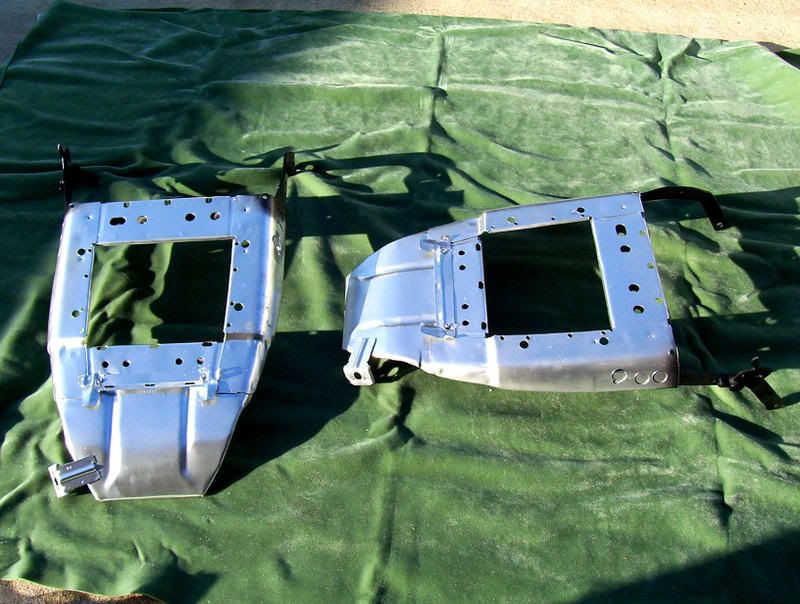
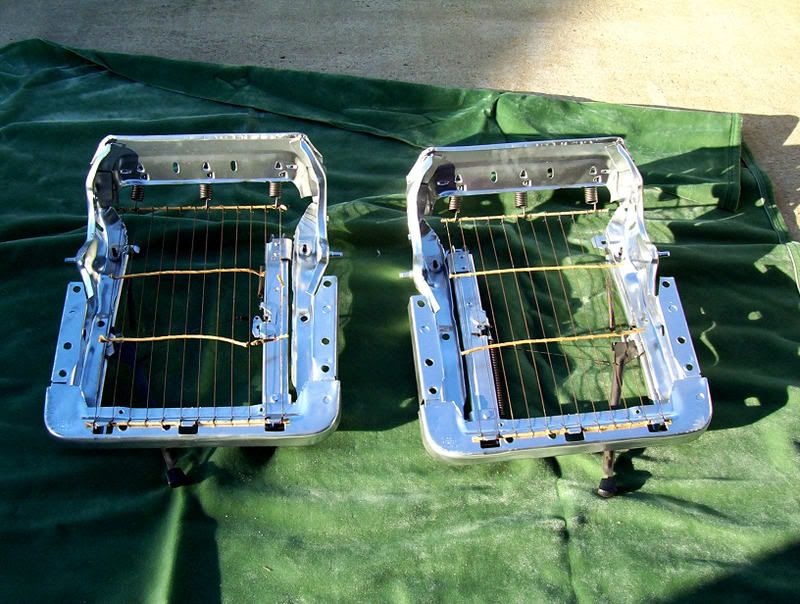
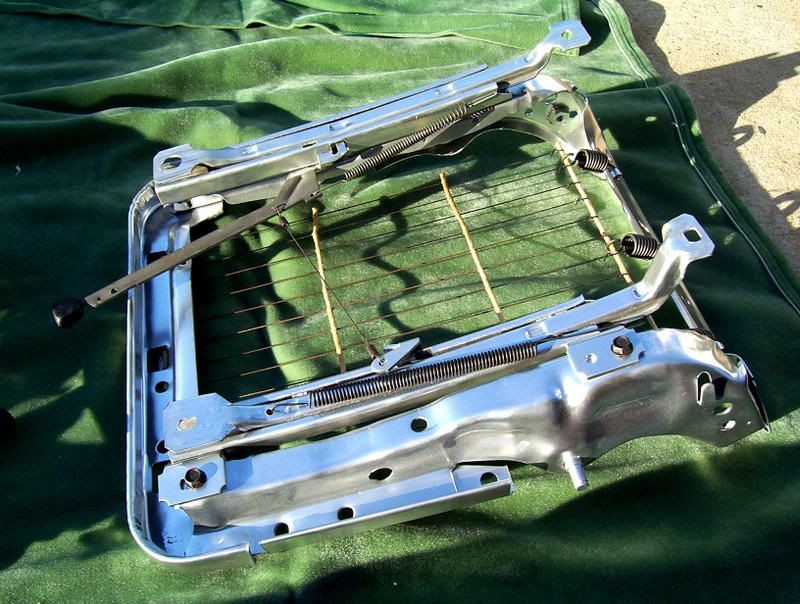
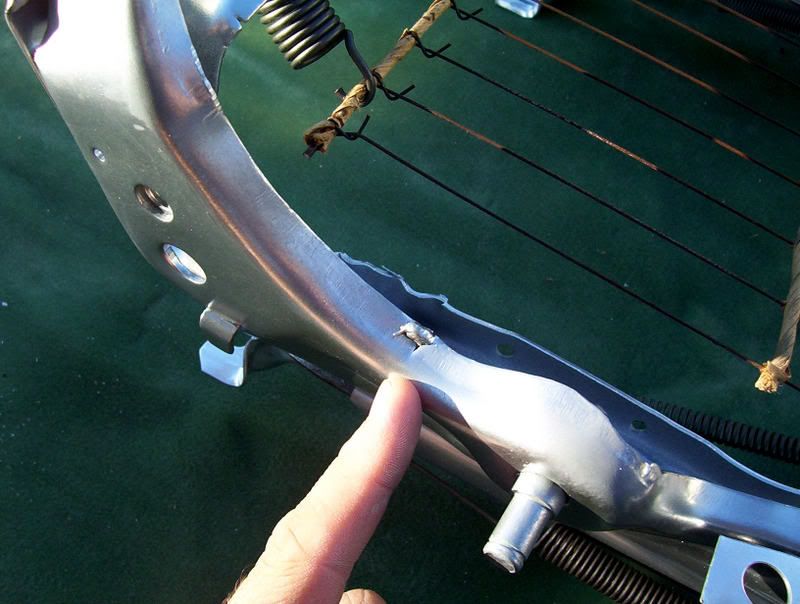
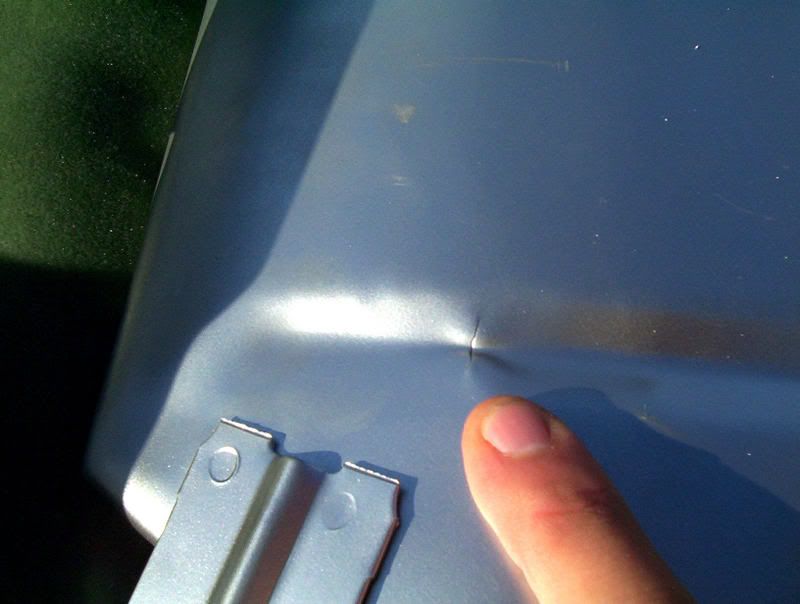
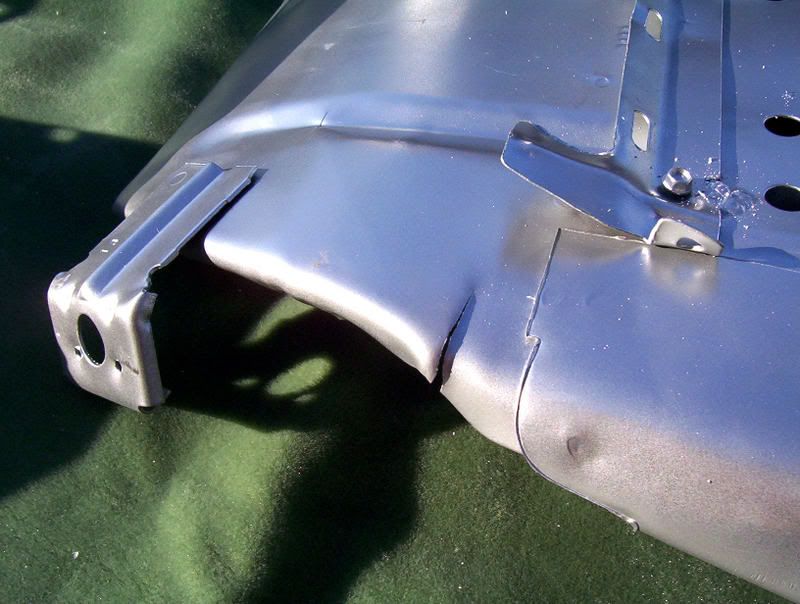
http://transamcountry.com/forum/viewtopic.php?t=1441Jason allready took apart all the seats so that he could work his magic on the seat frames and get them looking new. Some of the small cracks were welded up although I found another that will need attention before we get too far into the project. See what the frames looked like as I opened up the boxes!

Remember all the talks in the past about tilted and leaning seats? Well Hitman has a tech tip for replacing a bushing that may solve the problem,
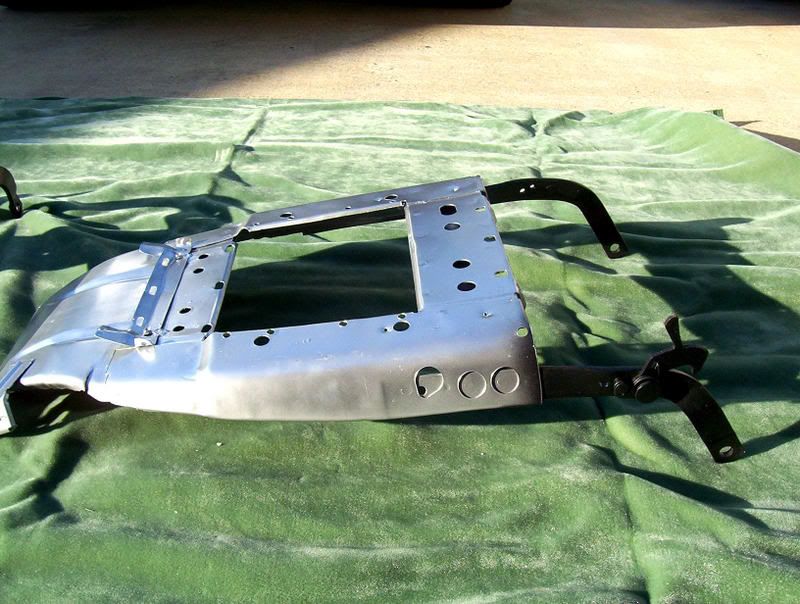
http://www.78ta.com/resto/seatfix.htm But all too often, a lot of these cars have cracks in the seat frames from flexing. Leaning on hte headrests and etc. These cracks if left untreated can get bigger and allow the frame to give and flex more. Here are some problem areas that have been fixed and one that still needs attention.
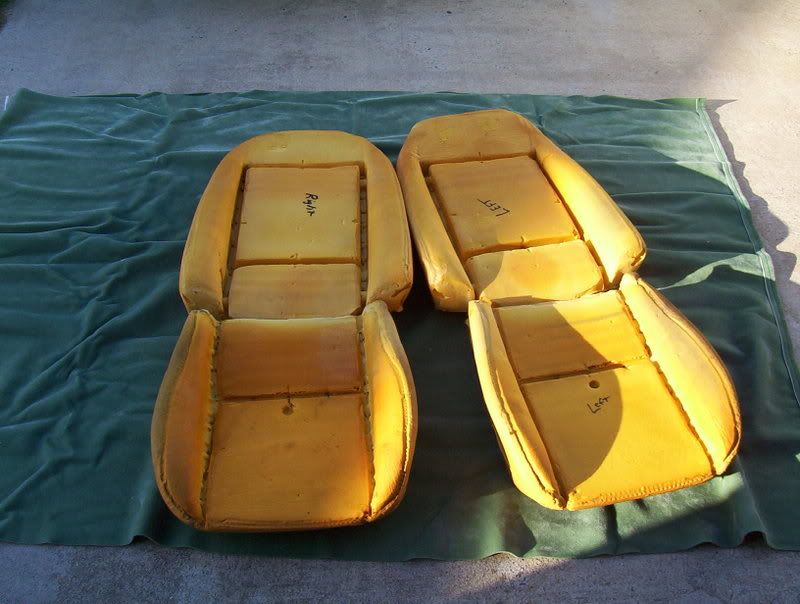
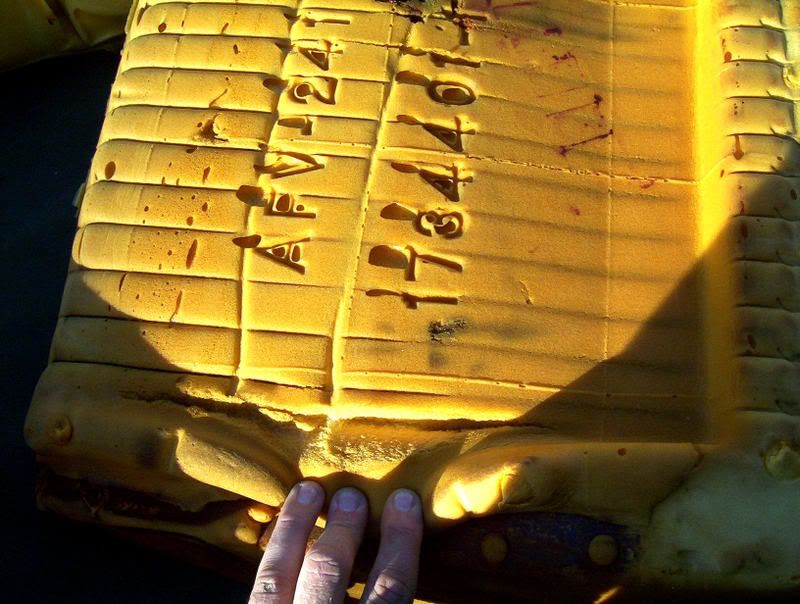
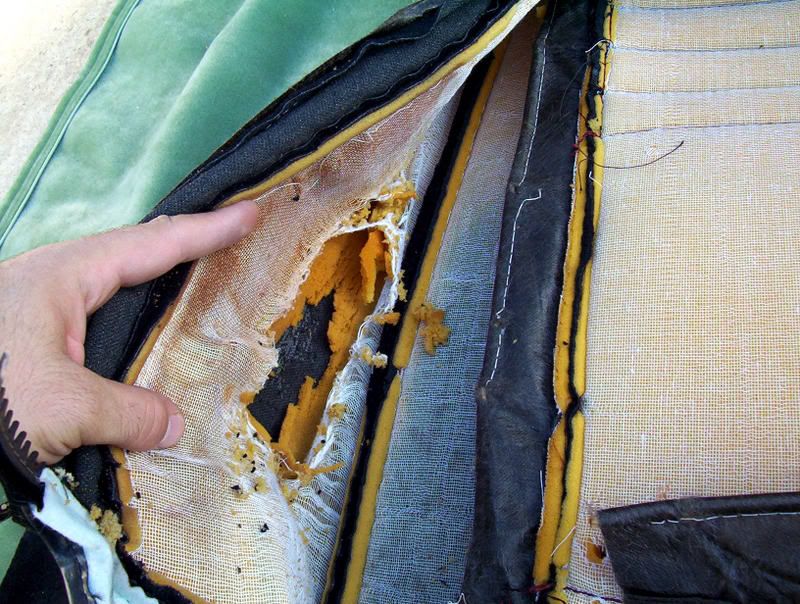
Often, the seat covers are replaced but nothing else. I like to use new foam if the damage is too bad but most people do not want to pay for them. Also the new foam buns are not shrunk to fit the seat covers yet, so they make installing them very tight and difficult for some poeple to get nice results on. We are going to use new foam buns on this job and here is why.
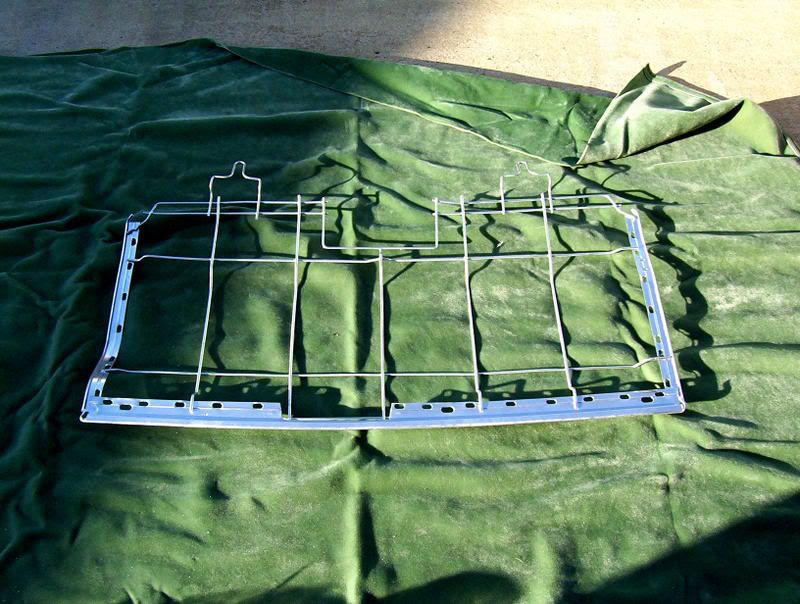
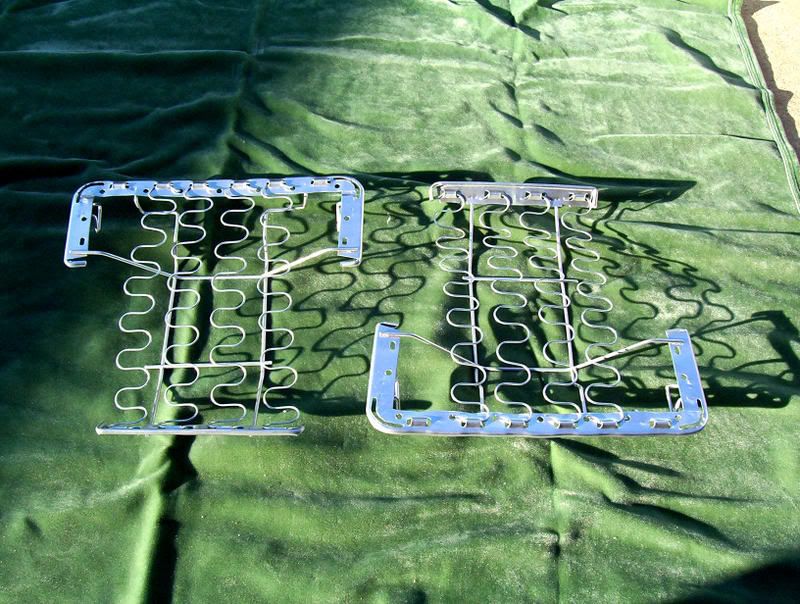
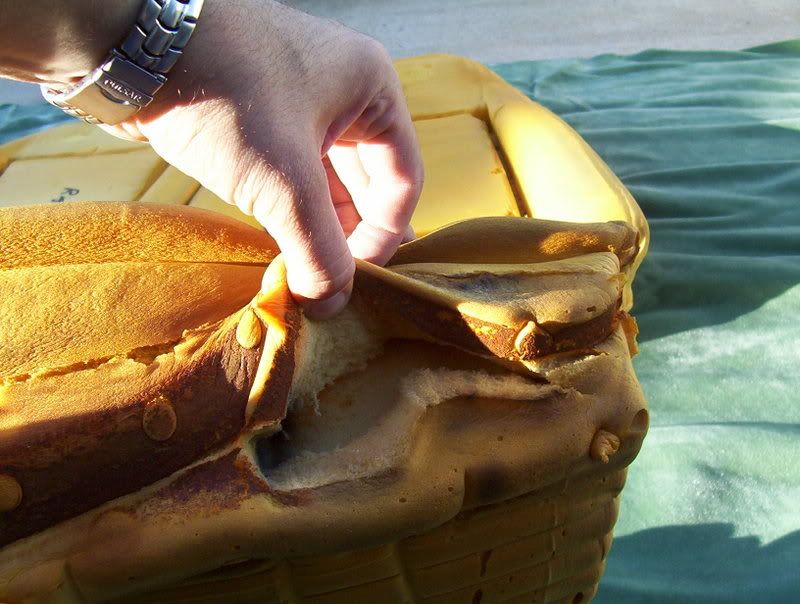
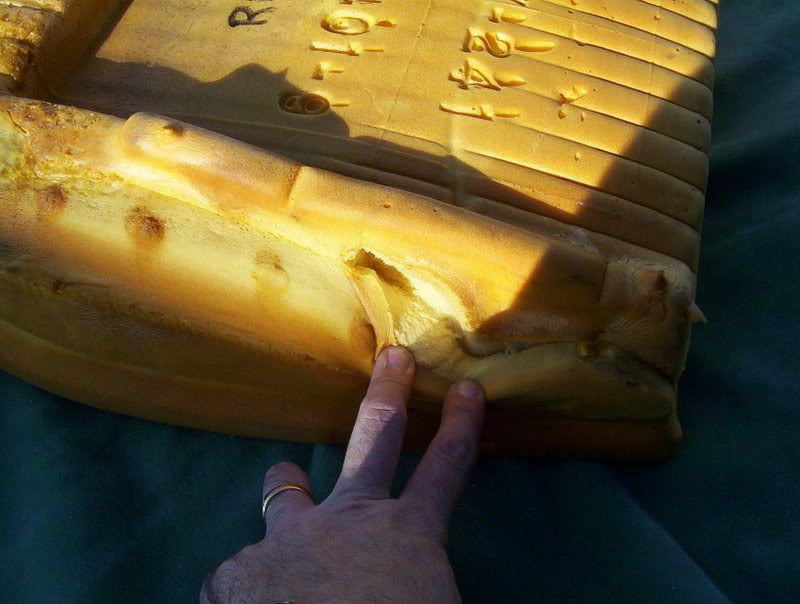
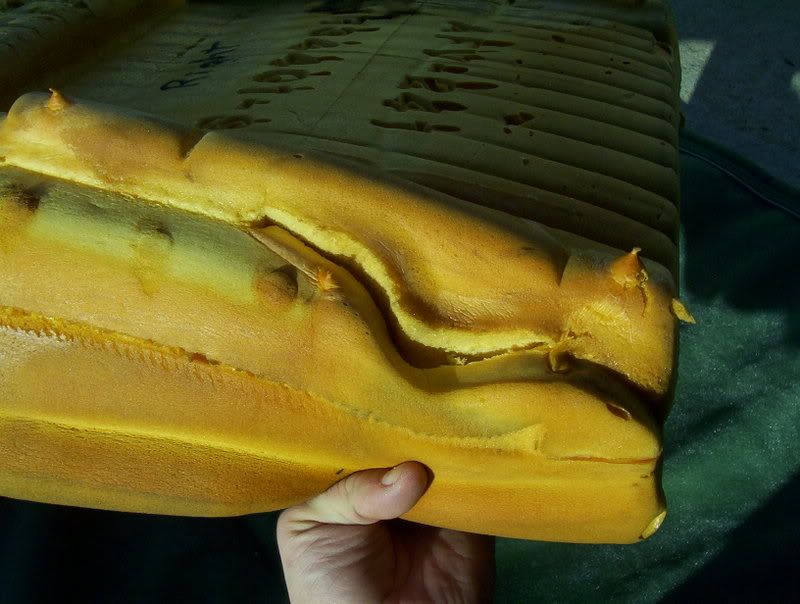
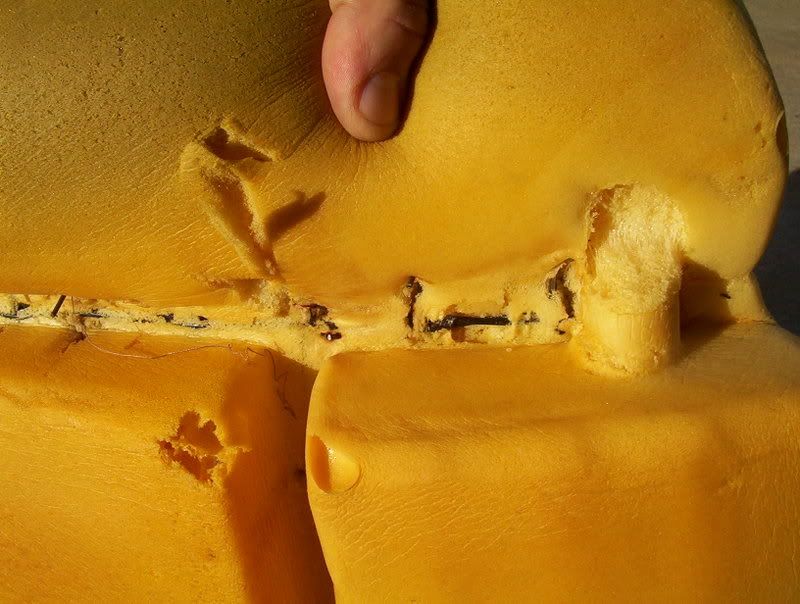
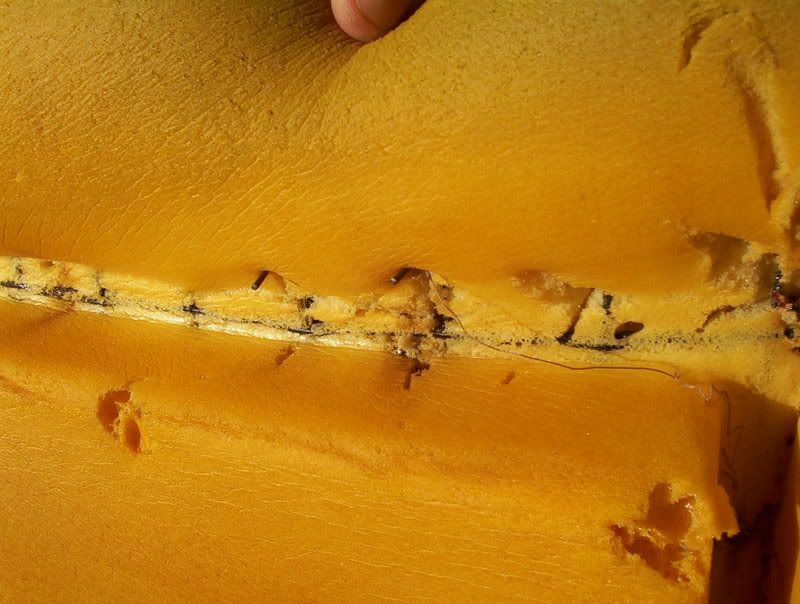
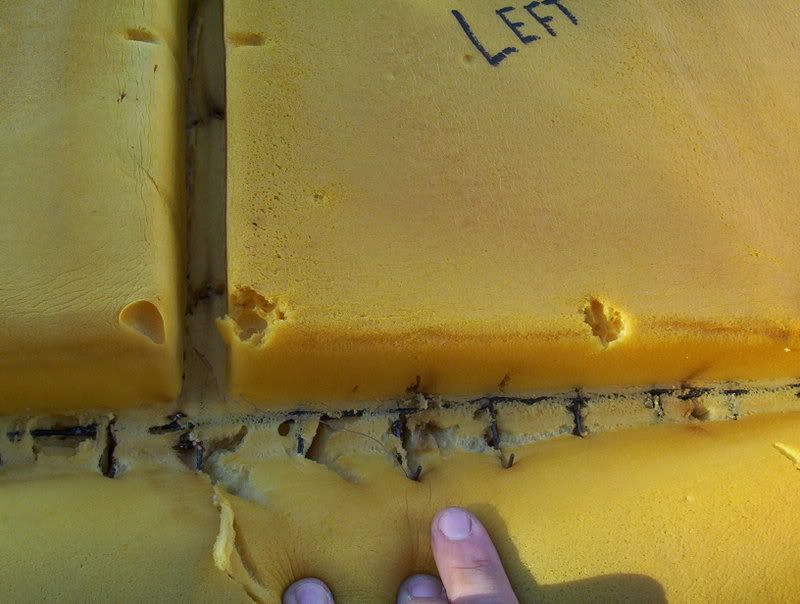
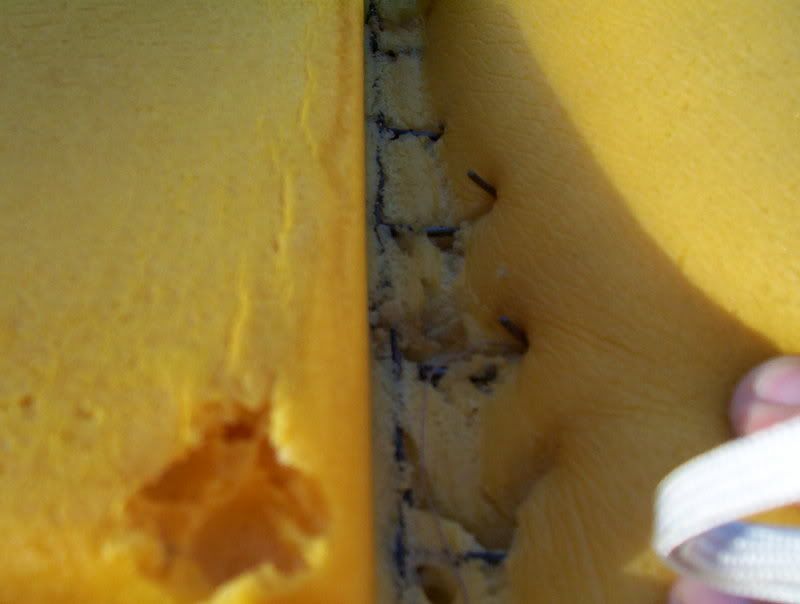
The bottom front buns are sitting on a springset made of thin wire. Imagine a weight of an average adult sitting on this every day. It is kinda like a knife slicing through butter. The tears can be fixed with glue and reinforcement, but we are going new. Also you will see that the springs that give the seat foam it's shape are made and then the foam is injected around the seat springs. Over the years, these springs bend and often break. Especially in the lower leanback side bolsters. If the broken springs are not cut out, they will eventually poke holes in the seat cover or etc. But if you cut them out, you are left with a foam bun that has no support.
OK,, now the part that is the reson for the job. The Hobnail fabric is only a two year option in these cars and it is getting very hard to find NOS. It is not made anymore and has not been for a long time now. There are reproductions out there now, but they are not correct by any means for a solid resto job. Here are some differances..
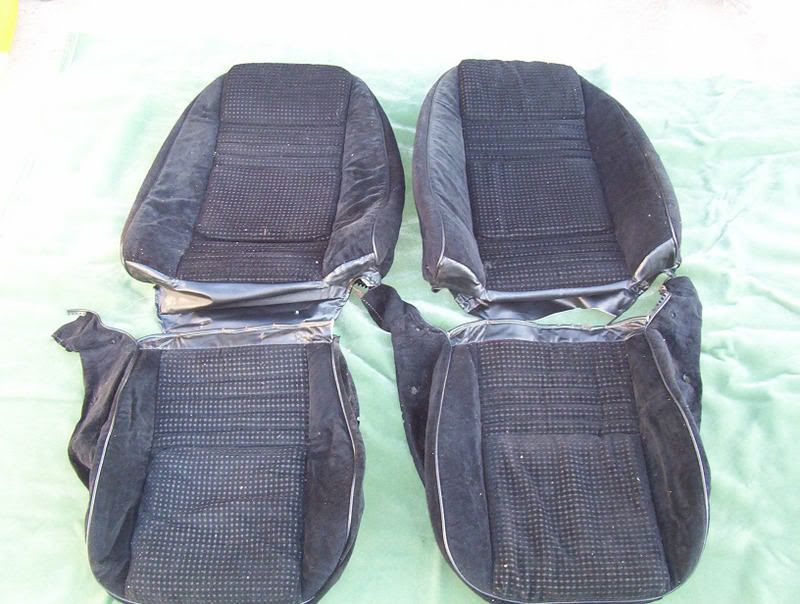
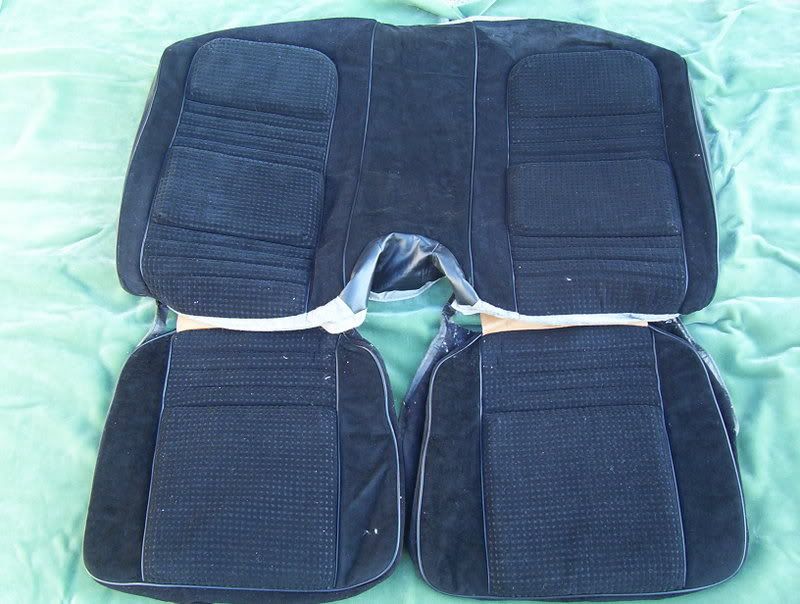
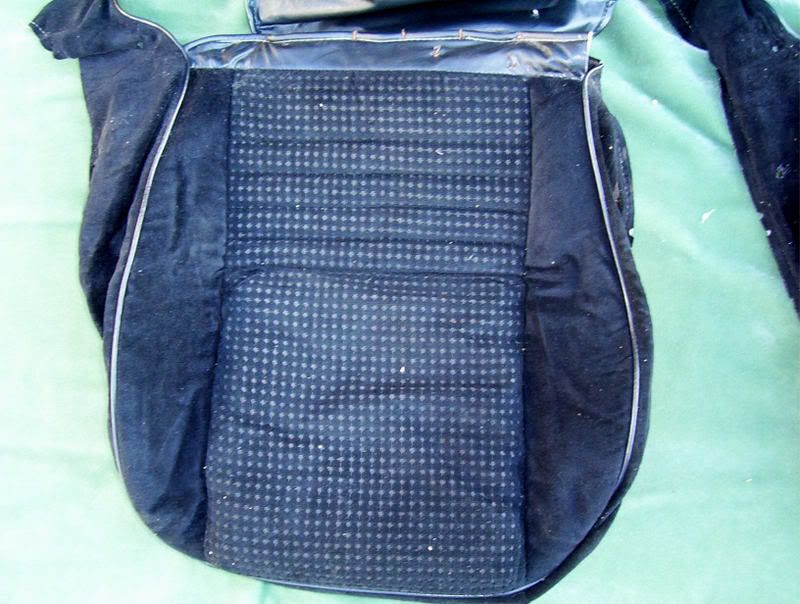
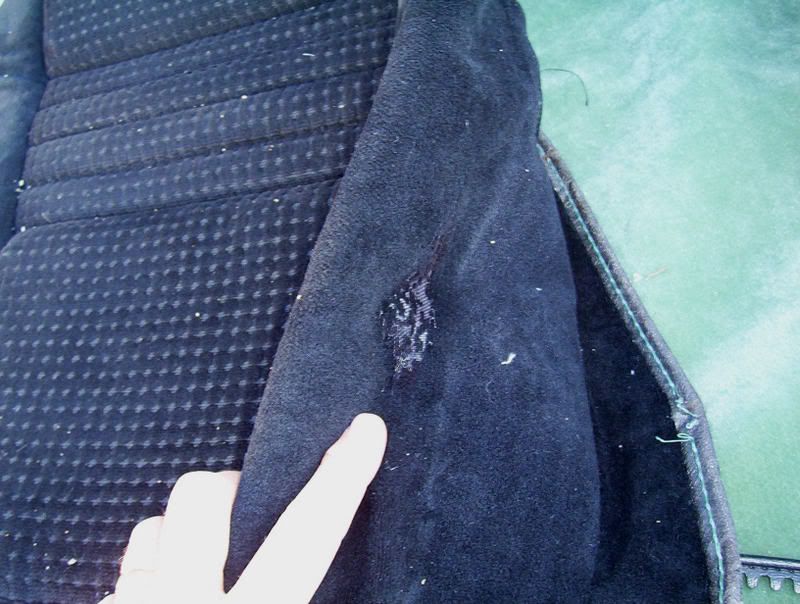
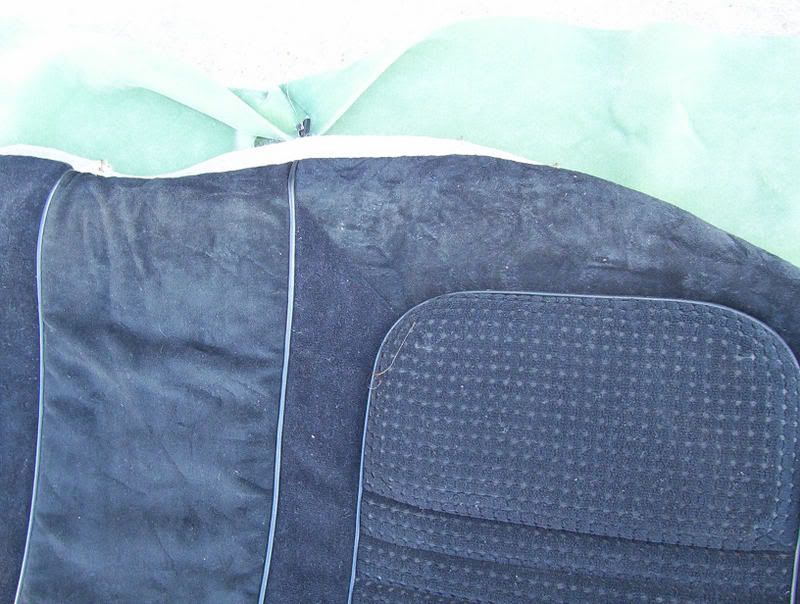
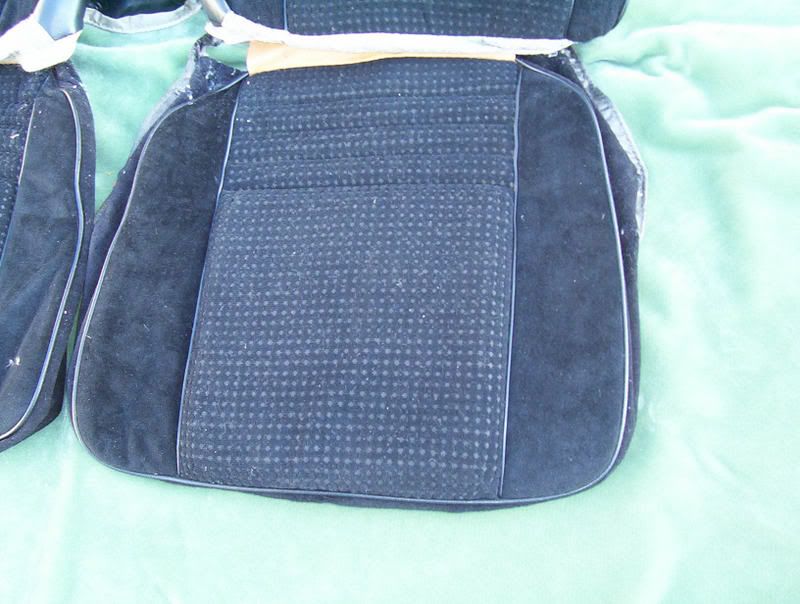
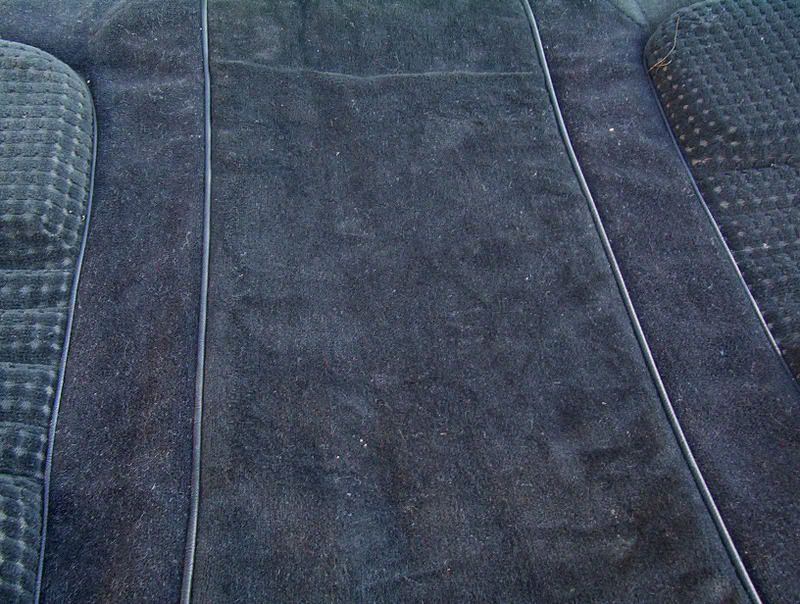
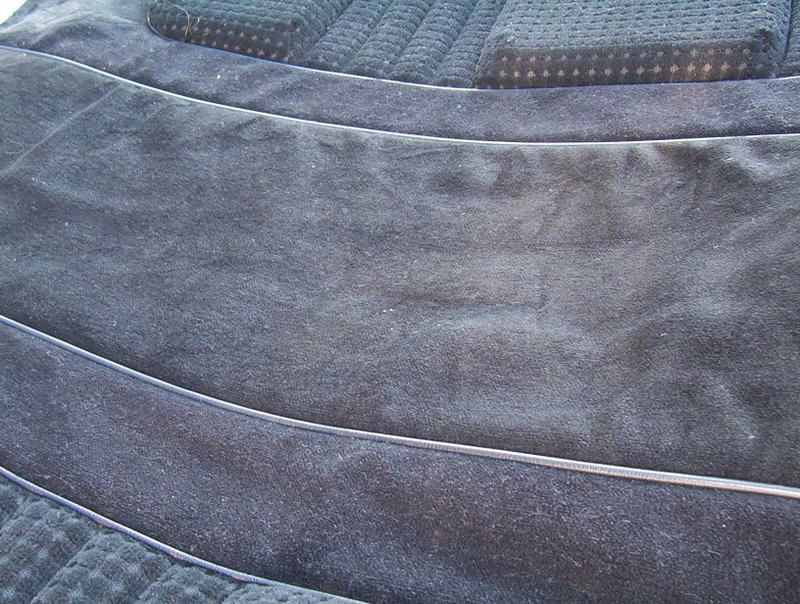
http://transamcountry.com/forum/viewtopic.php?t=1070&highlight=nos++repo+hobnail The seat covers here on this car were in remarkable good shape. There is some wear on the drivers seat cover and also a lot of fading. But otherwise, they look good. We just want better!

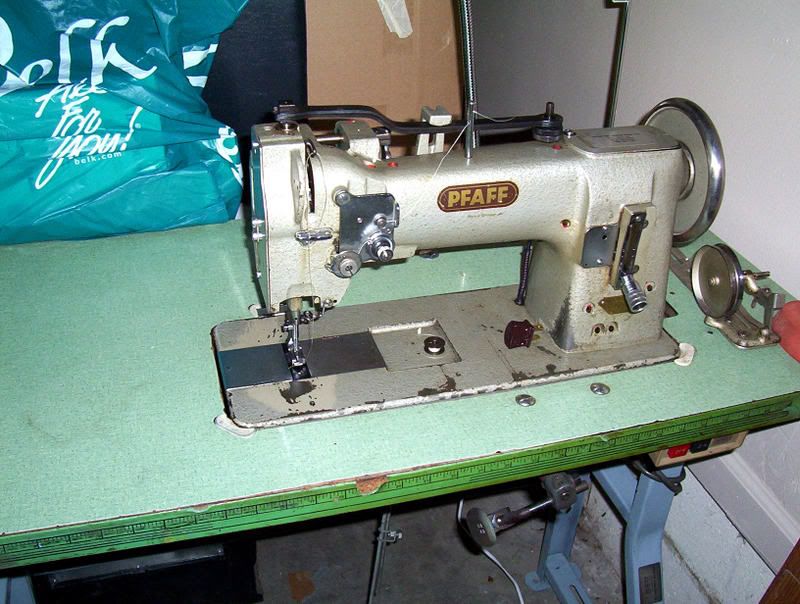
And of course the machine that will get this job done,, It is a very old Pfaff 145 built in Germany. It is kinda like the Mercedes vs a pinto in sewing machine terms. Very strong and reliable. I think this one dates back to at least the 60s.
Well, thats all I have for now, Hopefully all parts will arive soon and I will be able to document this project regularly. But for right now, it will be at least a couple of weeks at the earliest. We are going to use NOS black Hobnail and crushed Lombardy. Also new seat foam buns. Check back and see these come to new life!


