I decided that I wanted to make some changes to the lighting in my car. The stock lighting was dim at best and some of it looked orange, some of it looks white all of it looks bad...imo
So I started with the gear selector setup...mine didn't work at all...as it turned out it was just a bad bulb.
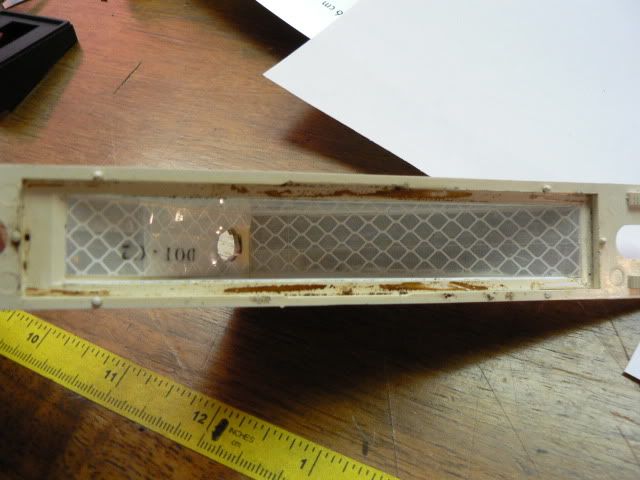
First thing I did was remove the center console plate and remove the white housing
then I seperated the lens from the housing using an exacto knife, cleaned everything up and was ready to start modifying.
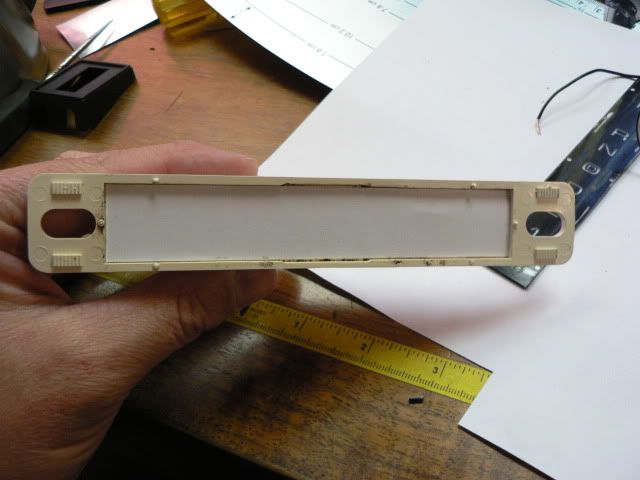
First thing I did was line the inside of the housing with reflective tape...don't know if it's necessary but it seemed like a good idea
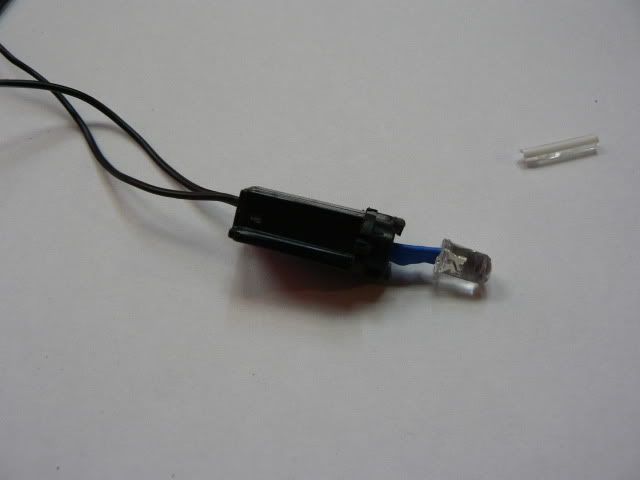
I cut the light bulb socket out of the car and removed the brass connections from the body of the socket. This left me just the plastic housing
I then got one Blue LED from the package I found at Wall Mart...yes I said Wall Mart...I was just as shocked when I found them there
I pulled the wires through the housing and then with some automotive Goop I glued them in place
Next I took a piece of aluminum foil tape and wraped the end and under side of the bulb so that it reflects straight up...I put the socket in place first to determine what side was up inside the housing.

next thing I did was to trace the lens on a piece of paper using my exacto knife so that I would get that white frosty background look
I used small dabs of the auto Goop to glue the lens back in place and this is what the final look ended up being
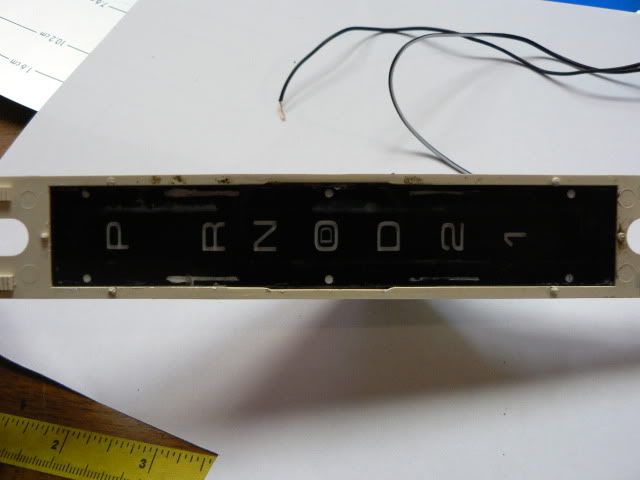
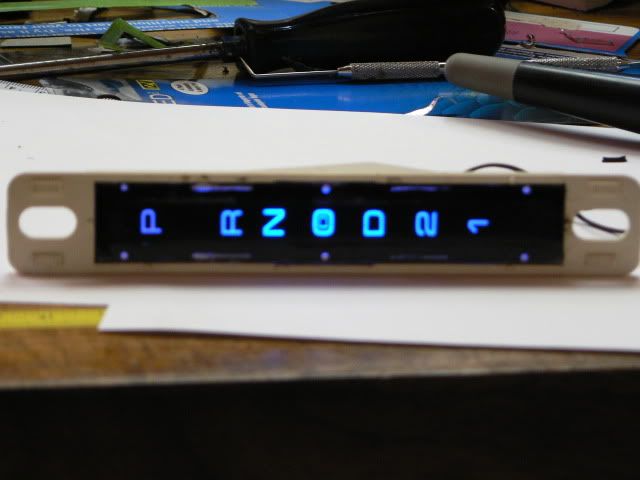
this can obviously be done with any colour you choose...it's simple and easy...you just have to be careful removeing the lens. I suggest having a backup one just incase.
Cheers


