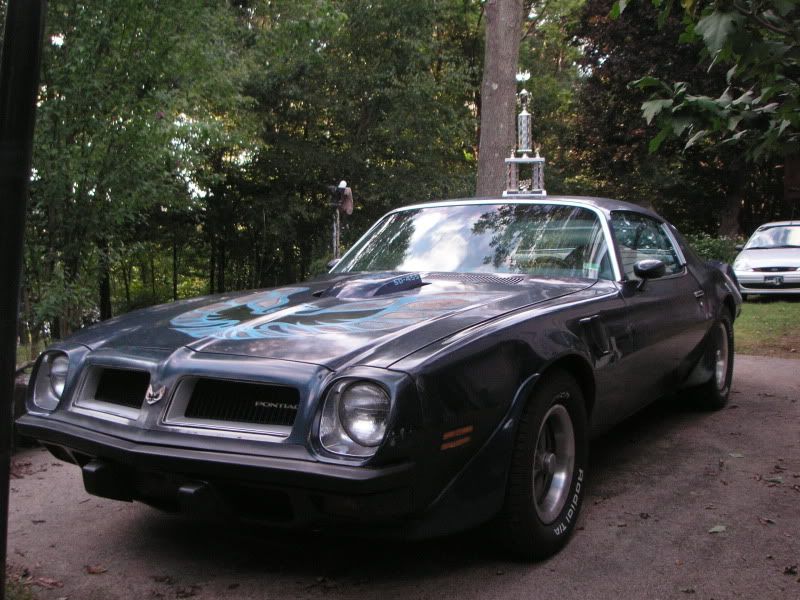
Just a little update. All anticipated task(front bumper replacement, spoiler paint and installation & interior redye) were successfully completed prior to the T/A Nationals. It was close, but I got it done. In depth details are categorized below. Had the distributor recurved to coincide with the engine build 3 days prior to leaving and we were off to OH. Just slightly over 600miles one way. Went out Friday w/ a friend and hit some nasty rain. Good thing the wipers worked. Car performed exceptionally well and surprised us with 18MPG highway average w/ a best tank yielding 19.25MPG. WOW. I cant get that out of my 400!!! With the 8 track cranking Jimi, CCR, Stones, & others along with clear skies after the rain, it was an unforgettable experience. Although, not cosmetically fairing as well as others, the car showed rather well and draw an overwhelming amount of attention. Event picked up a trophy for Barn find of the year at Tipp City presented by Scott from Rev Up Motors. The trip home was even better due to sunny weather. We tagged along with another friend as my arrival friend had to leave early. Now its time to decide what to do with the deteriorated body areas. I prefer to keep the car original appearing as long as possible, however, I would like to preserve certain areas so car last. One option is to repair the deteriorated (rusty) areas, treat and paint only those areas while not disturbing the pre existing patina if you will. I am also chasing a fuel delivery issue. I have corrected some areas and will install a fuel pressure and vacuum gauge next to gather data for my next move. Would like the engine to spin its full range w/o pausing at 4500 and then catching and repeat. It is more prevalent in gears 3-5 than 1 & 2 although it does occur. This is rather common w/ 455s and modified 400s as they tend to drain the bowl of the Q-jet and the pump cant keep up. Im down to adding a high flow pump and/or inline fuel filter as opposed to the one installed in the carb. I do one change at a time and test to see results. Back to the progress.
Front bumper replacement
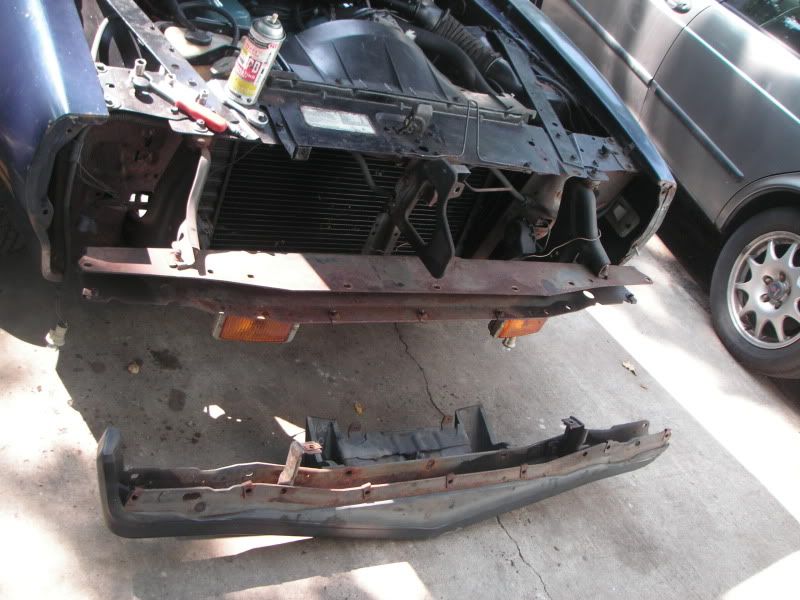
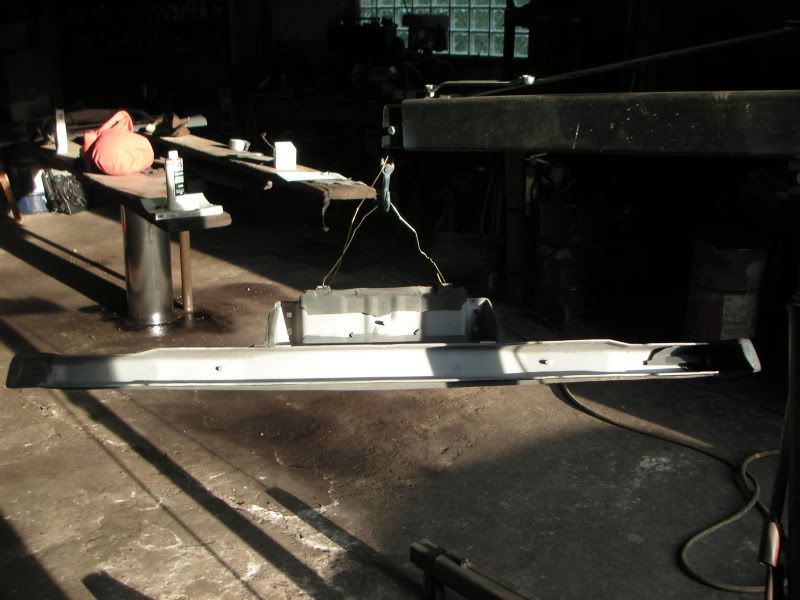
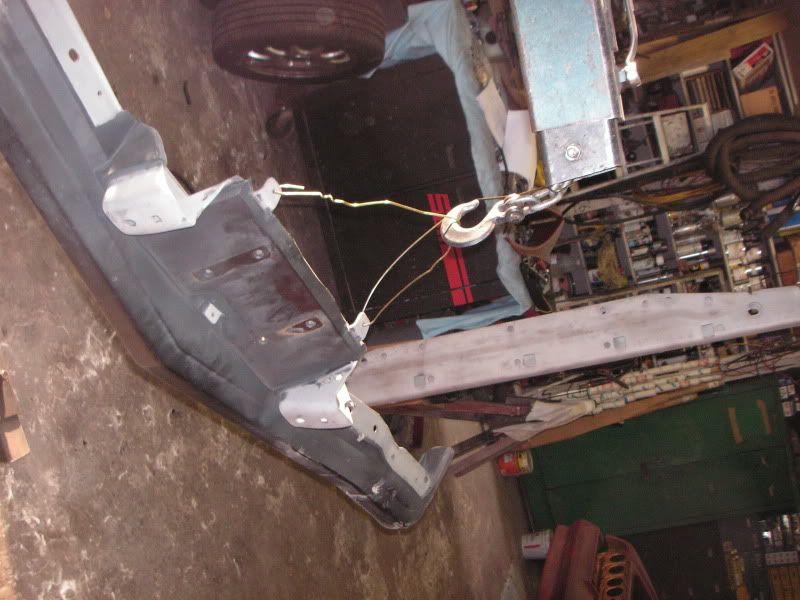
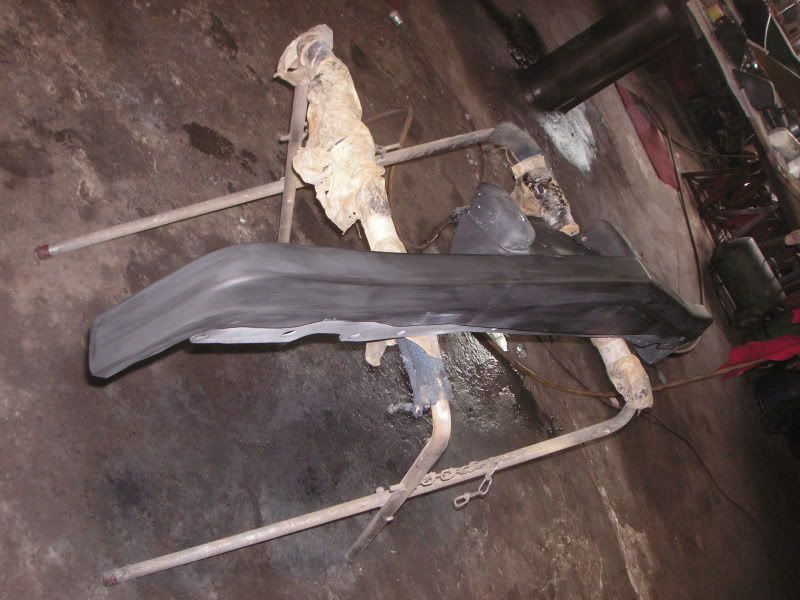
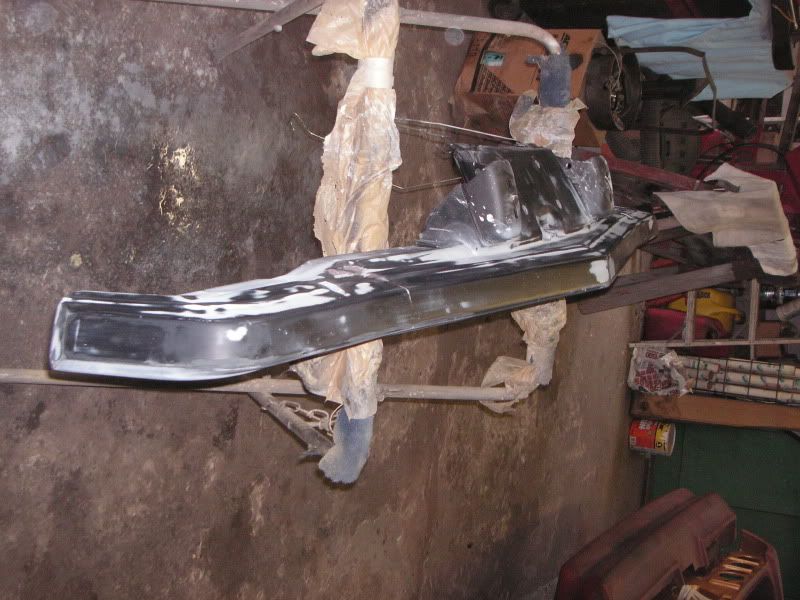
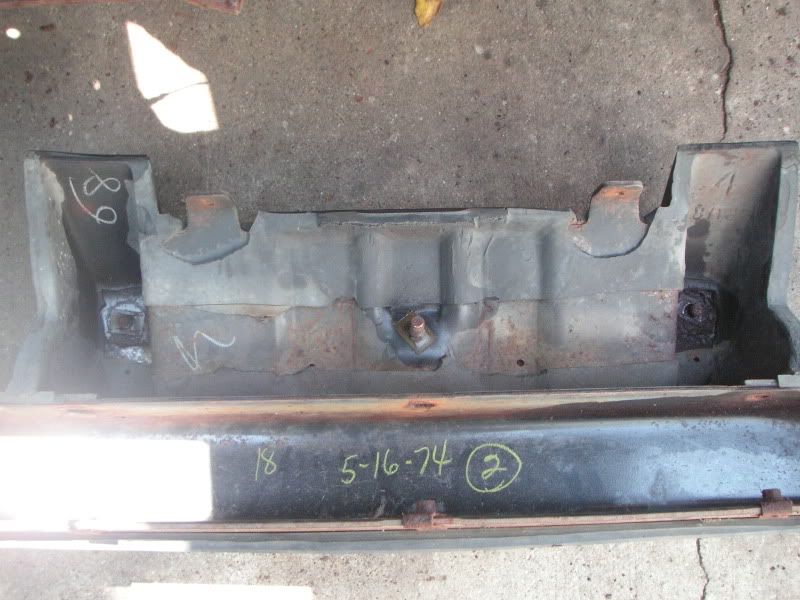
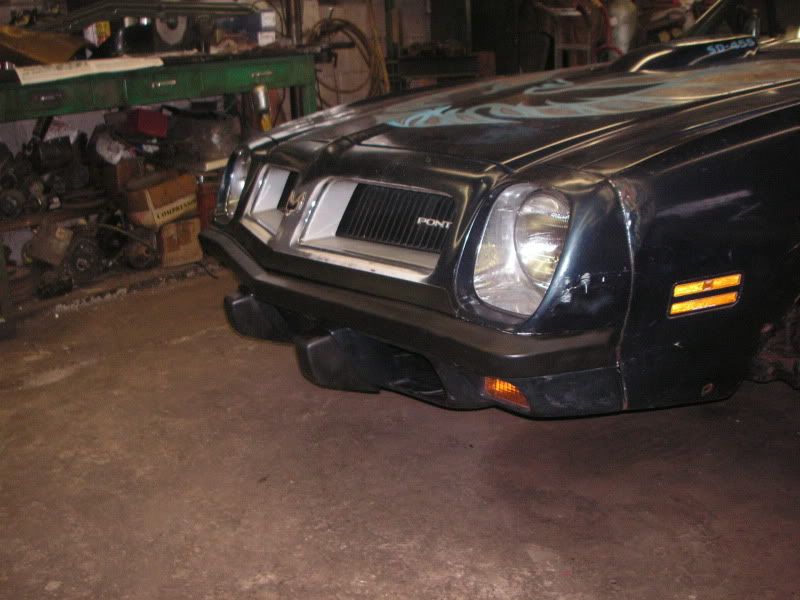
The original front bumper was damaged in a parking lot incident way back when as I am told. I had acquired a nice bumper that needed minimal repair to replace the original. Being from a 1975 bird, the bumperettes if you will, are removable as opposed to being fixed as a whole like the 74. The difference is unnoticeable once installed. I found a date marking inside the original bumper which I attempted to recreate. Im not one for pencil markings and what not, but since it would never be seen, I decided to give it a shot. The metal was sandblasted and etch primed. I had to lift up the rubber to get all the rust flakes out. This is highly recommended as lots of stuff gets trapped there and can haut you latter. Horizontally gifted people should be familiar with this procedure. Ewwww. Semi gloss followed the primer prior to some satin clear to preserve the finish. The ripped areas were repaired using flexible bumper repair 2 part epoxy by Wurth. This product is also good for deep scratches and gouges. At 45 bucks, its not cheap, but it works. 3M & SEM have similar products. I then sanded the rubber to remove any shinny areas and also remove light imperfections while not to remove too much of the original rubber. This was followed by a few coats of SEM flexible high build primer along with some skimming filler for the slight depressed areas. This was then wet sanded up to 600 grit, repeating as necessary. Finally, I used SEMs Trim black to restore the original rubber finish. I later found SEM has bumper black which may work better. Ill try it if this fails. Although this may seem like a day project, attempting to get the aged rubber perfectly straight and flat was rather time consuming between sanding and applying materials. A new GM, not NOS as it is still available, front filler molding was also installed.
Removing original )original installed bumper can be found at the beginning of the thread)
Sand blasted
Rubber sanding
Before
after

Etched

Removing imperfections

Original markings

Painted
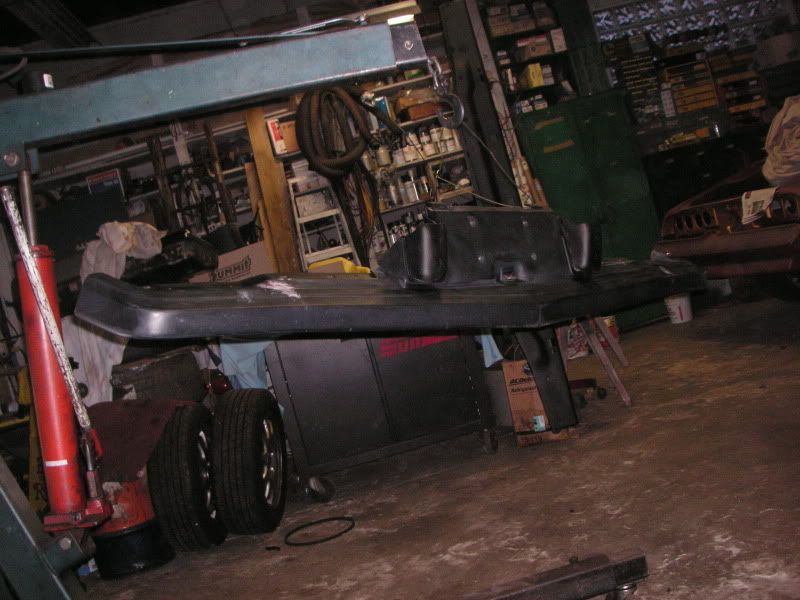
Installed el fin
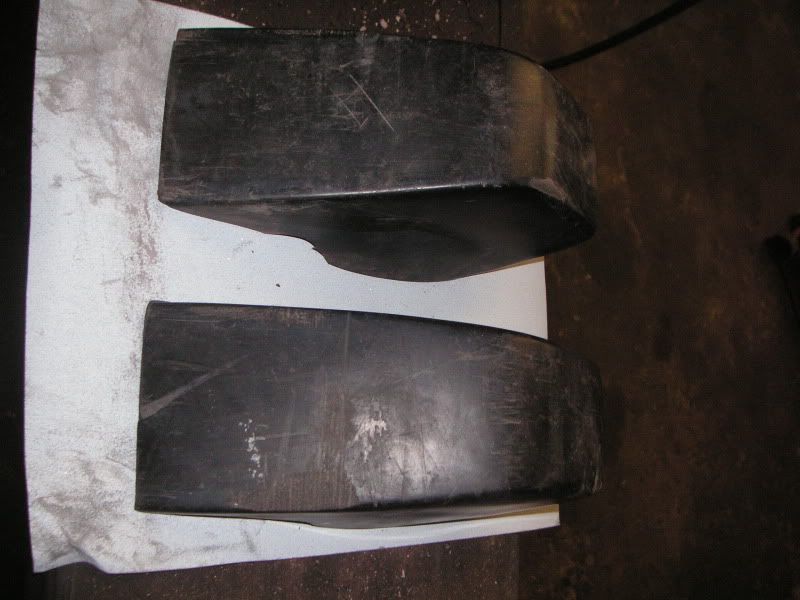
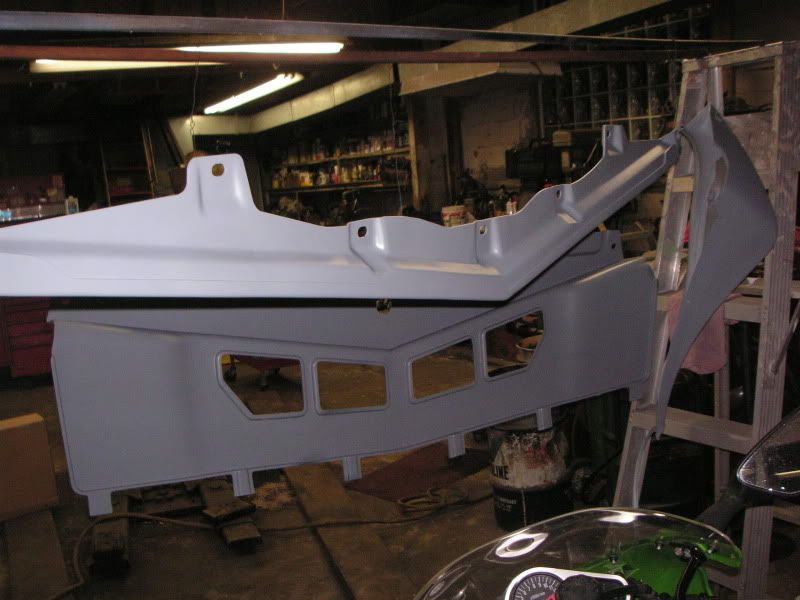
Spoilers
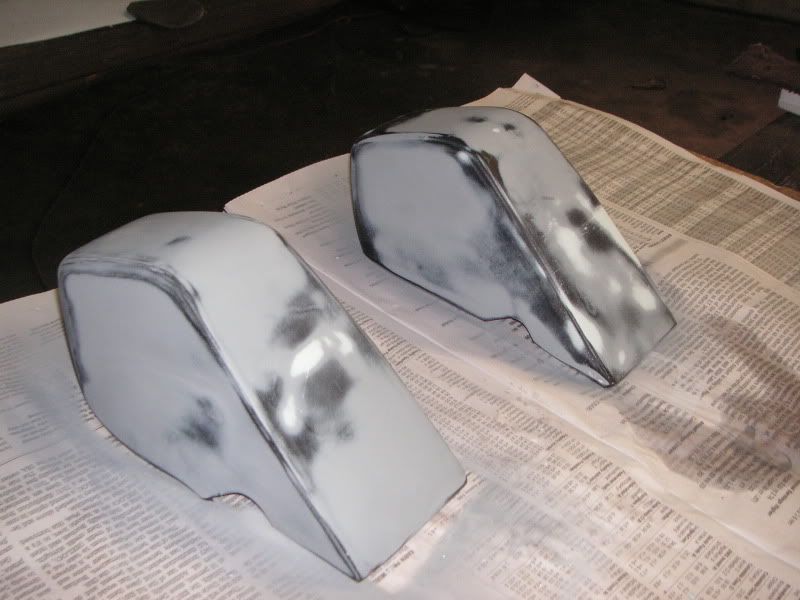
The right side was an original I received with the car which was simply reinstalled. The left was a used , but good GM unit. The center was an ABS repo. Both were sanded to unpainted/ shinny surfaces, primed( PPG DP90), filled and sanded. I used Dupont Chromabase 5474K for the color which is mixed to factory specs. I sprayed a few coats on the pieces, lat that flash, installed the welting w/ a small amount of weather strip adhesive and reshot the pieces. Clear followed there after w/ flex additive to prevent cracking.

Note: the gold on the flare was lacquer which reacted with the enamel. After that occurred, the part saw taken down o bare plastic and started over.

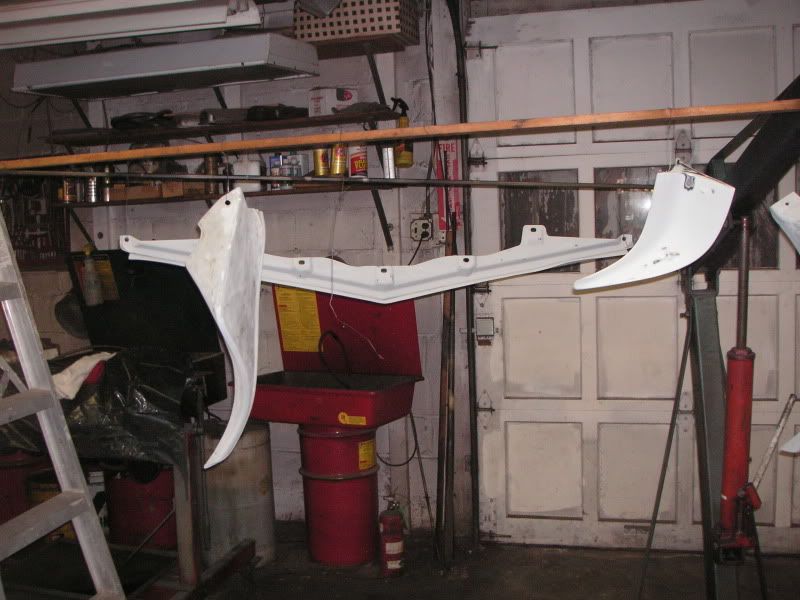
Primed parts along with a friends and 78ta members 78 parts
Hope I got the staple correct
Color!!

Installed (Taken at Tipp city)
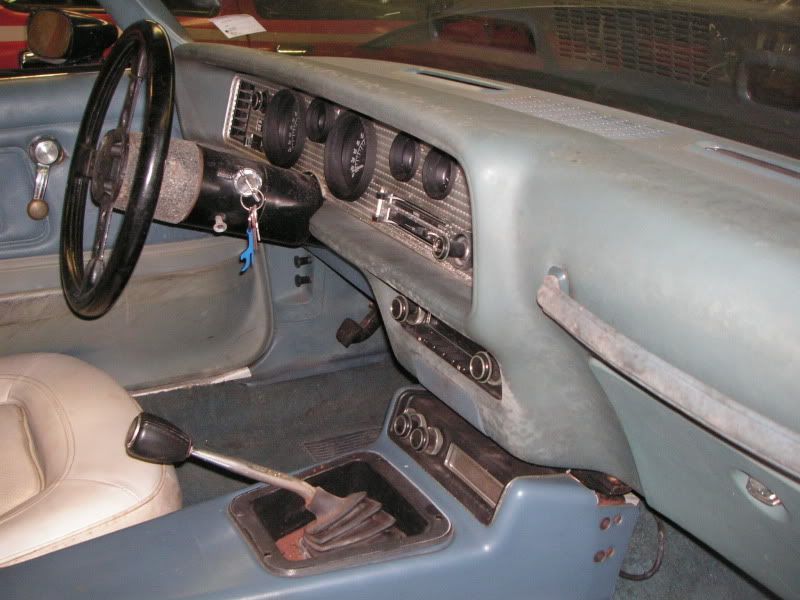
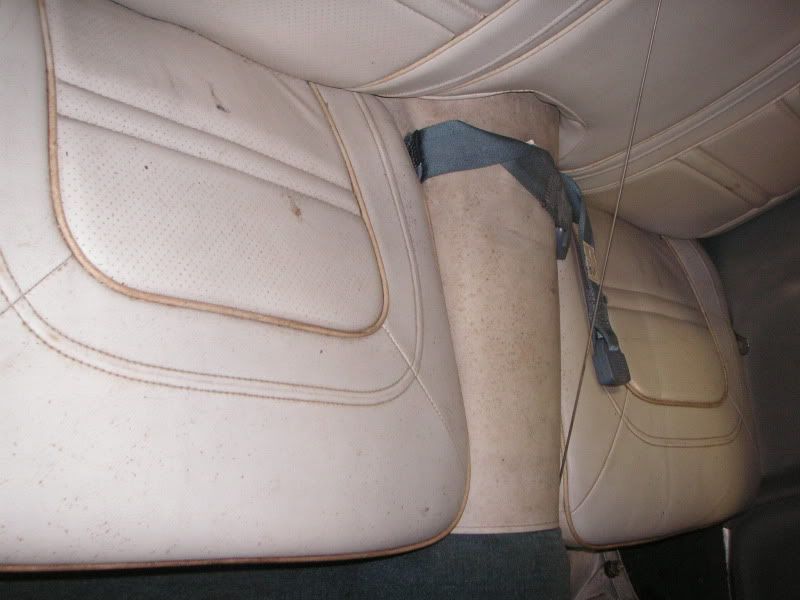
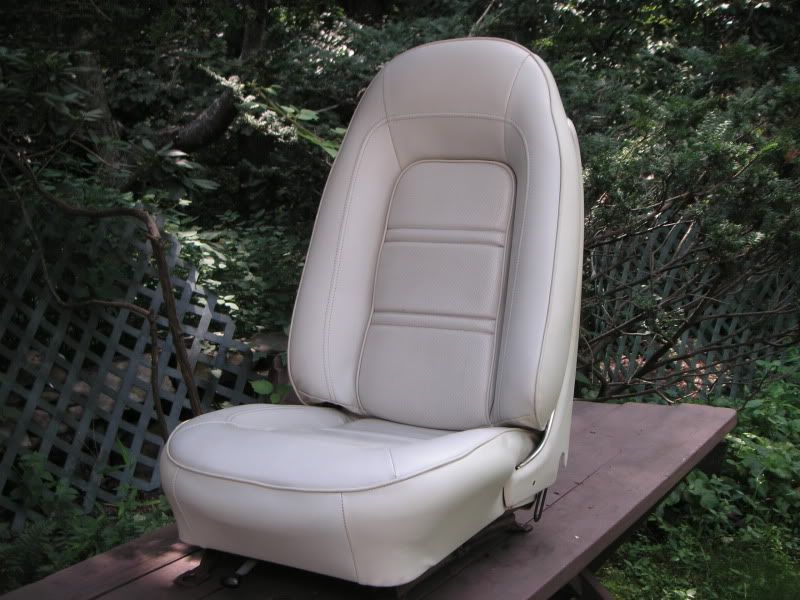
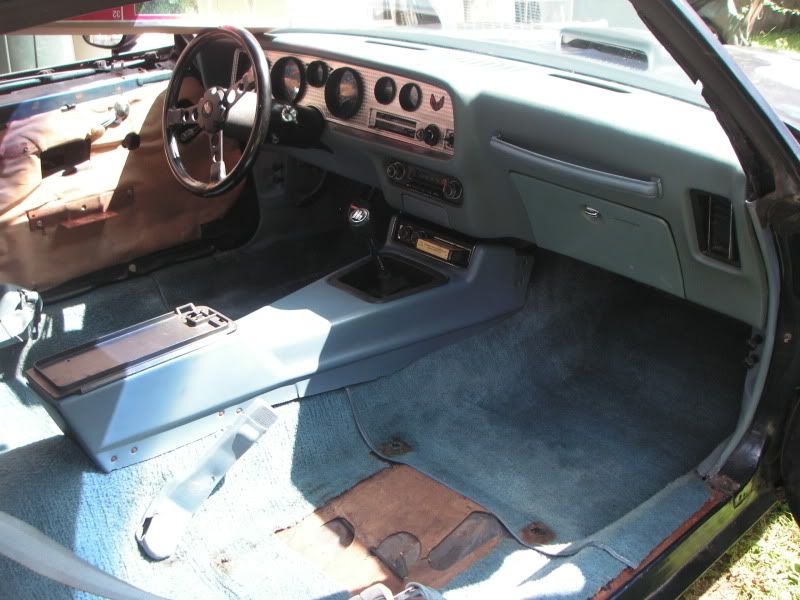
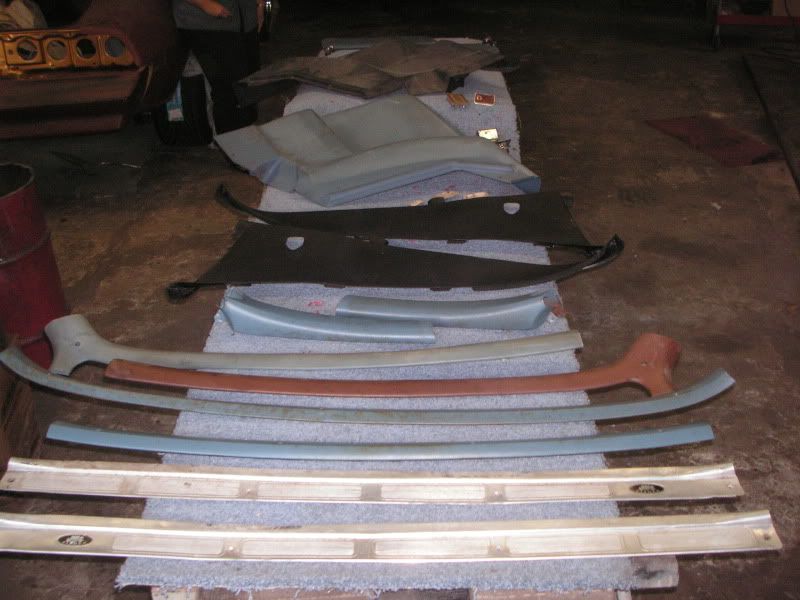
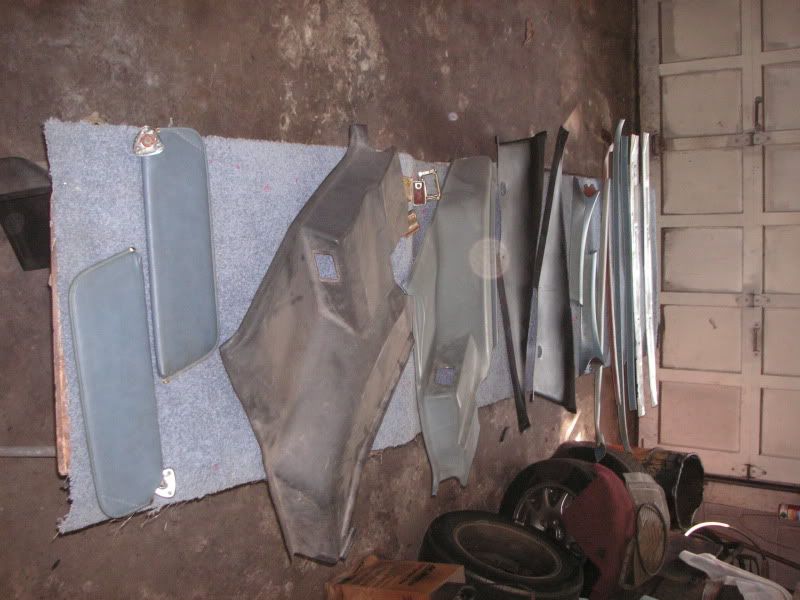
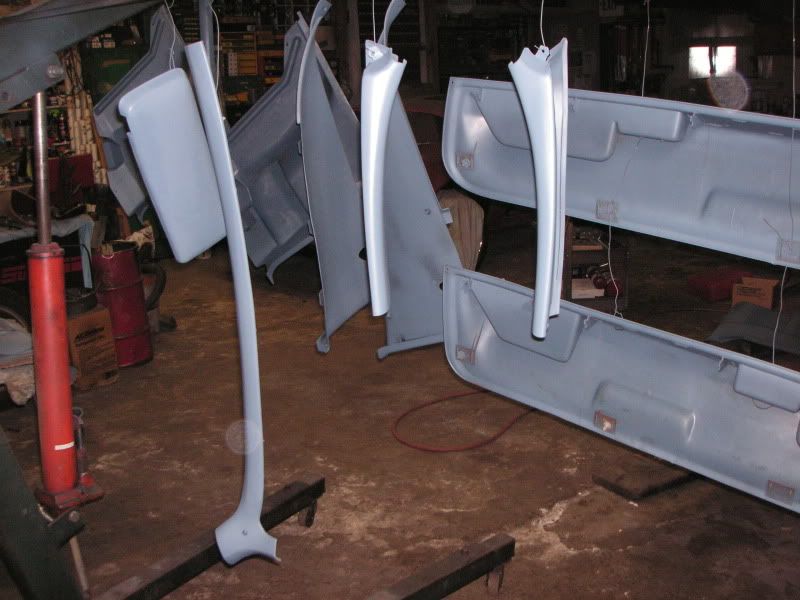
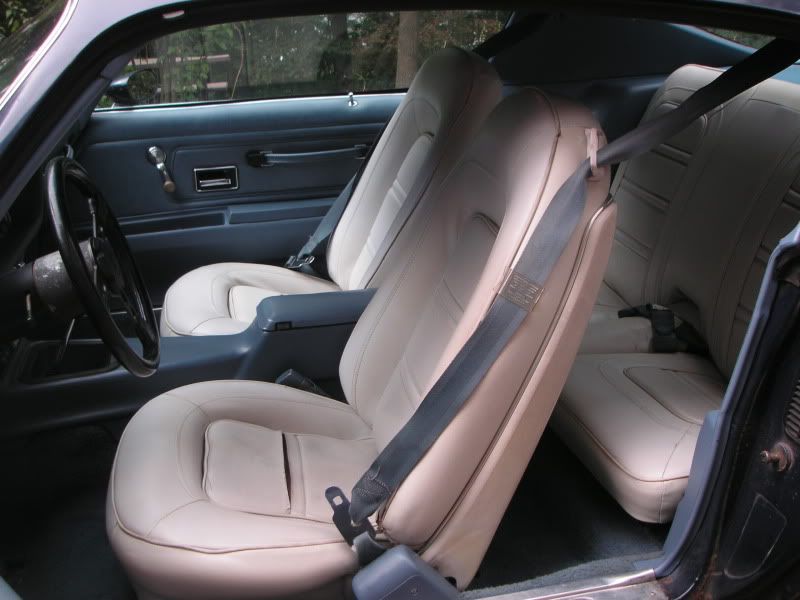
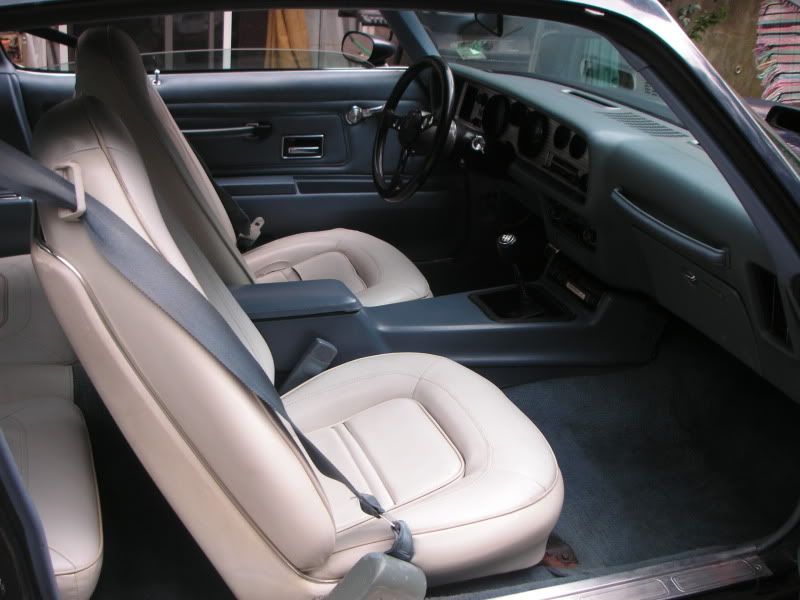
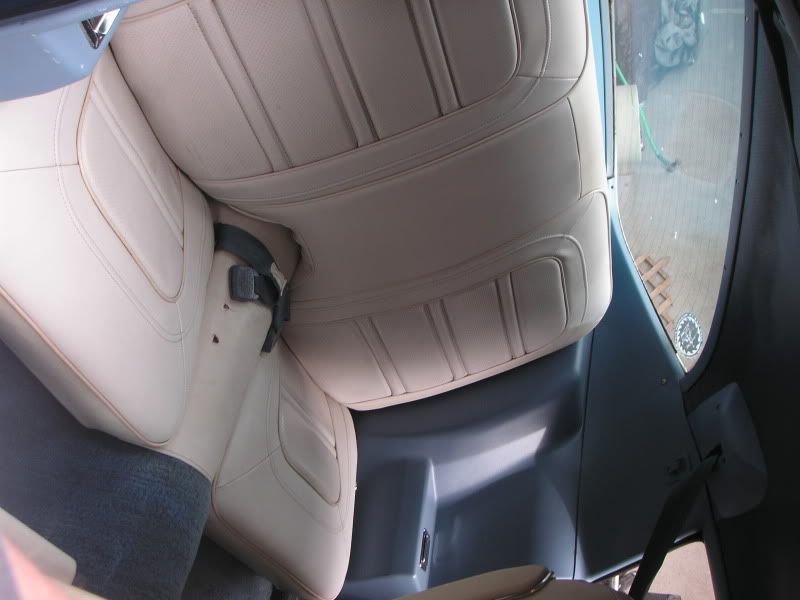
Interior
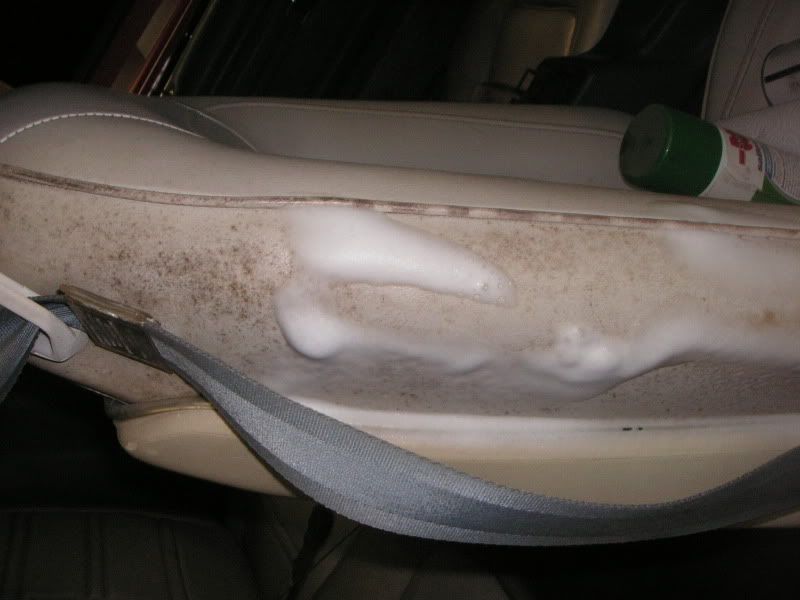
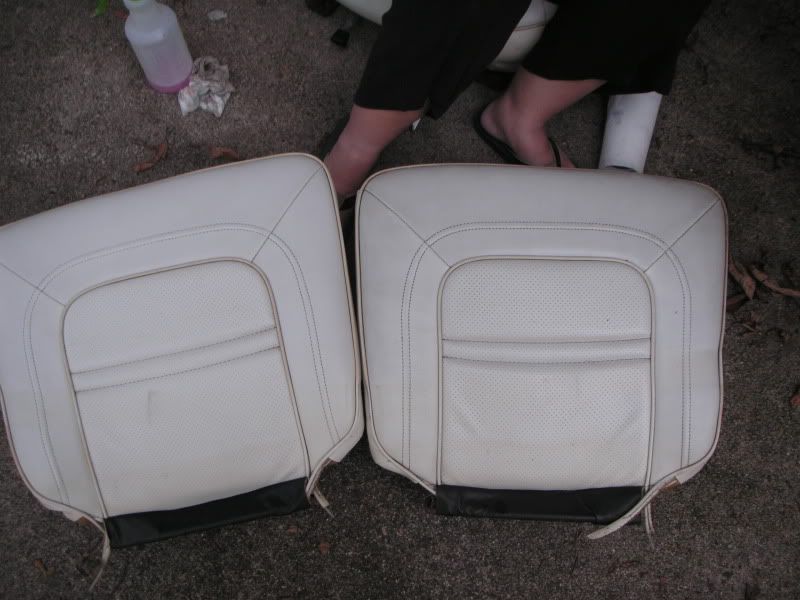
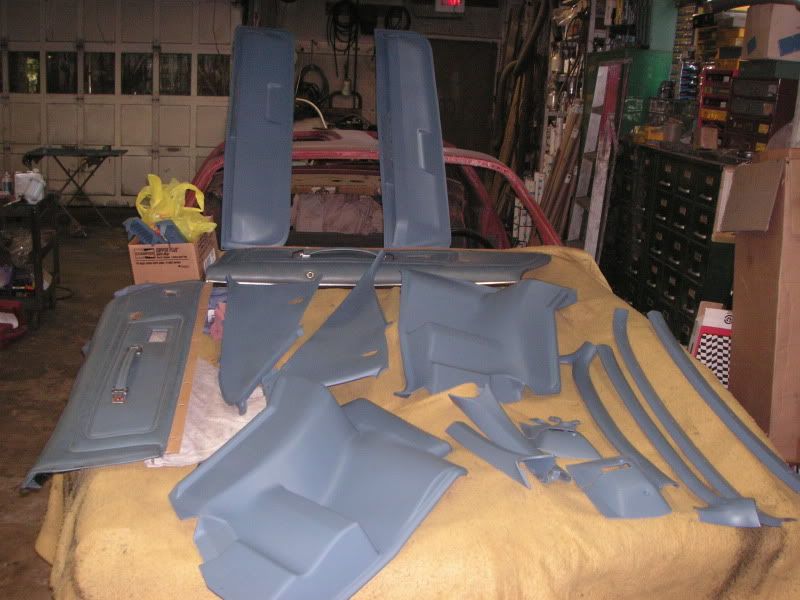
This probably made the most visual improvement to the car. The seat had been cleaned couple times prior, but nothing as extensive as they were now. I used diluted Purple Power and ZEP Power House along with a scrubbing brush and elbow grease. The carpet was in fairly decent shape so I decided to shampoo it. Using a grocery store rental Rug Doctor, I was shocked to see the difference. I found a carpet tag too. The plastic, like most colored plastic had seen better days. I had acquired good original examples to replace the deteriorated ones and redyed everything from the A-pillars back. Dash, console, upper door panels and kick panels are the only undyed parts. A new package tray was also installed along with an original, but dyed console lid to replace the missing one. Since SEM does not make a color that matched the medium blue, a nice follow, show was also dying some medium blue parts, sent me a sample. I took this along with an original part (underside was still in good shape) to the local Napa to have some TEC-1 Martin Senior dye mixed. It took them 2 times, but they nailed it dead on. Works well and seems to hold up so far. As with any dye job, the prep is super critical. I do an initial scrubbing with a heavy cleaner using a brush and fine steel wool. I do this a few times to make sure no contaminants are on the plastic. Just prior to spaying, I shoot some adhesion promoter on the parts.
Seats before
After
(left cleaned, right before) GFs are good for cleaning car parts too.

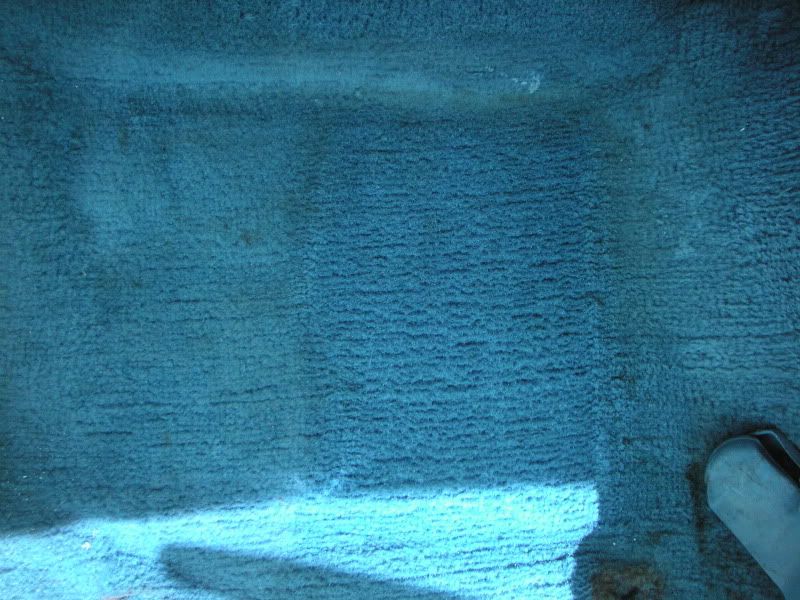
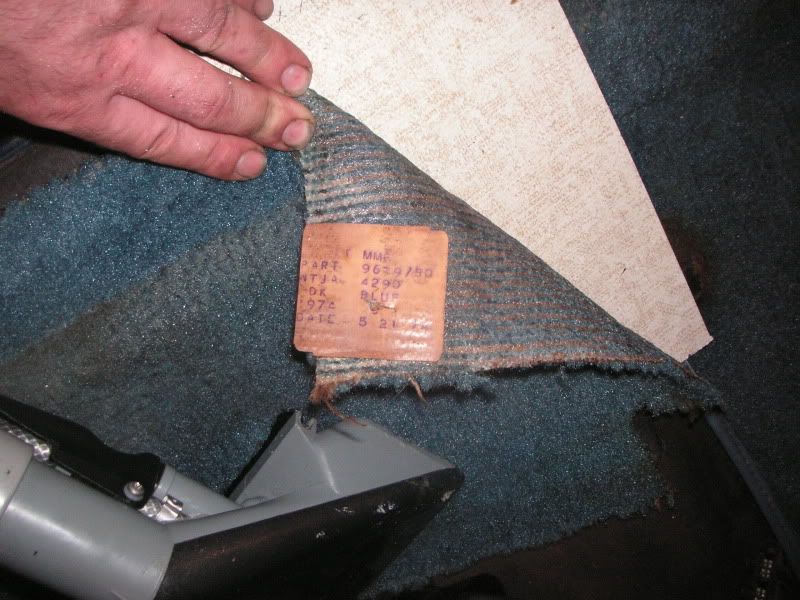
Carpet before

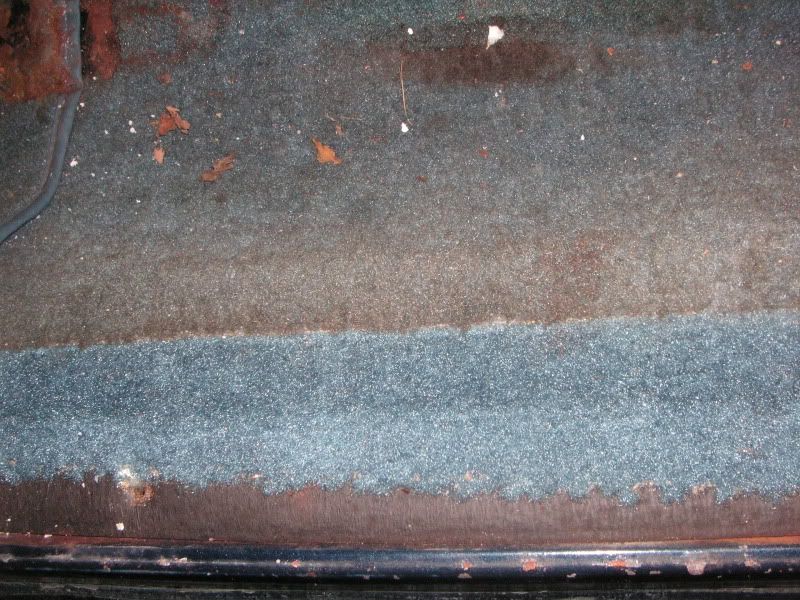
The man

After

Tag
Plastics to be dyed
Dyed
Cleaned and refurbished interior installed. I thought it came out fairly nice.

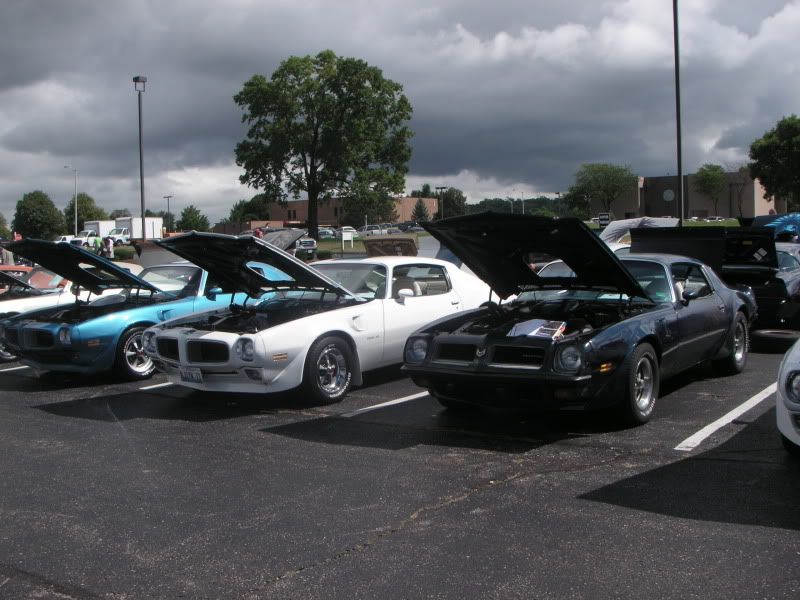
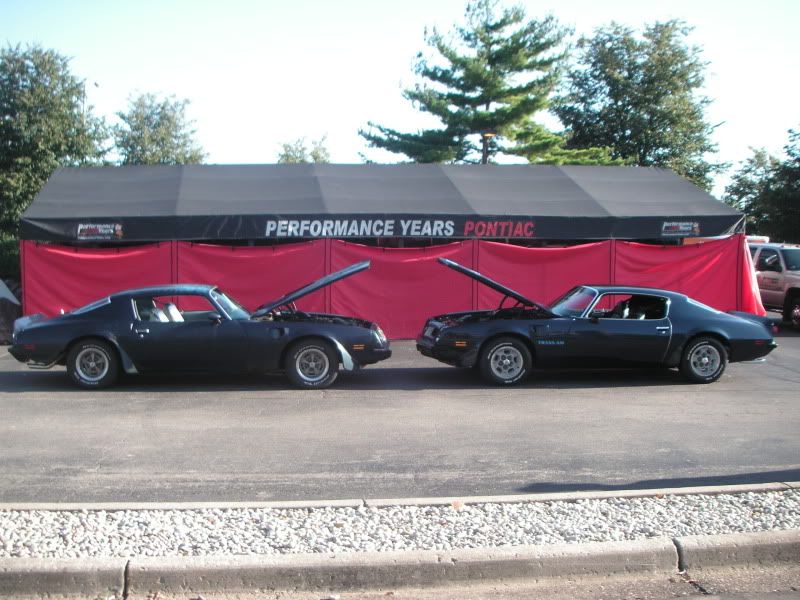
Nats adventure
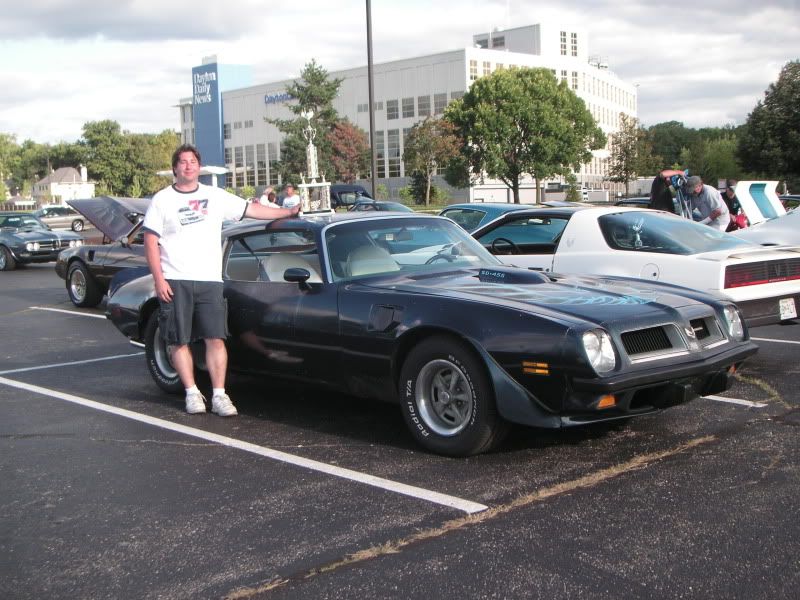
This provides abistion to get my 72 done (71 pictured). I think that would be a nice looking stablemate along with the 78.
Lots of attention or maybe we were giving out candy . Though this picture was humorous.

Scott from Rev Up and myself. This really made my day. Never won a trophy before. I was told my head couldnt fit into the car succeeding this event.
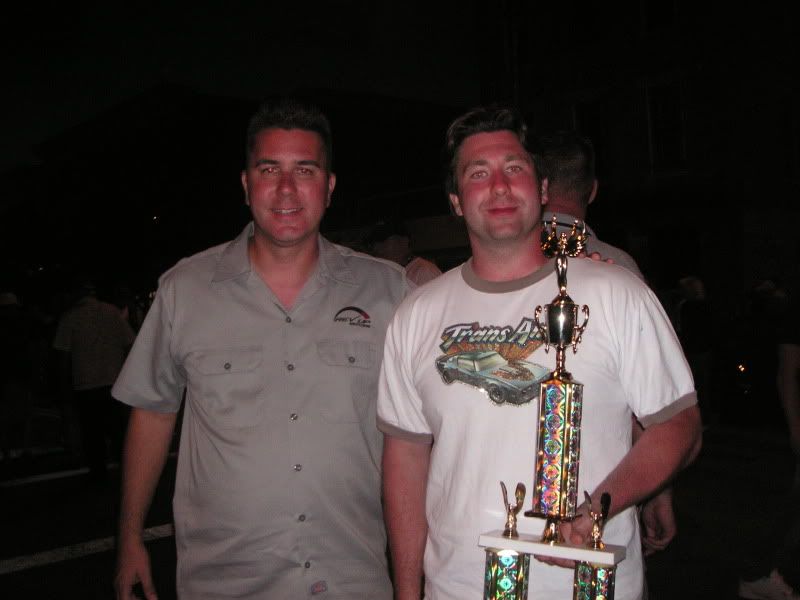
Braggers suck. Conceded jerks
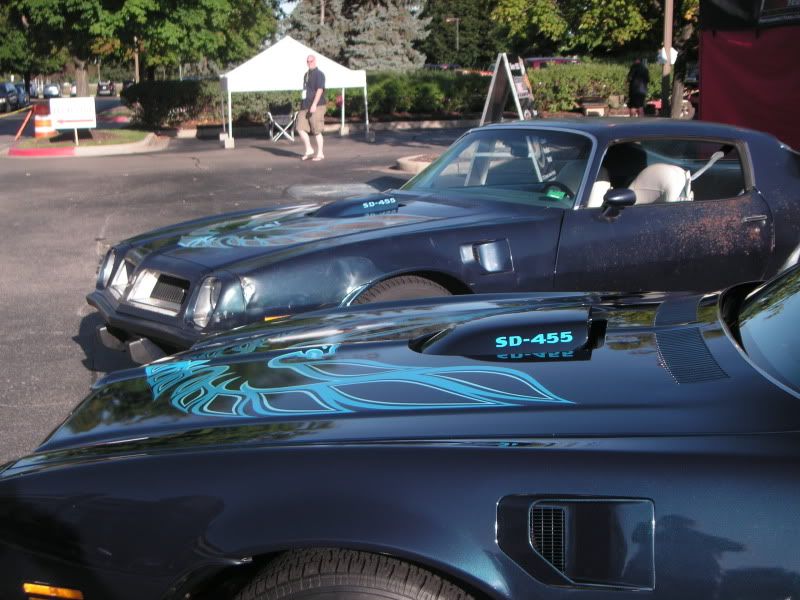
Photo shot w/ an original 74 SD that had 7900 miles. Gorgeous car.

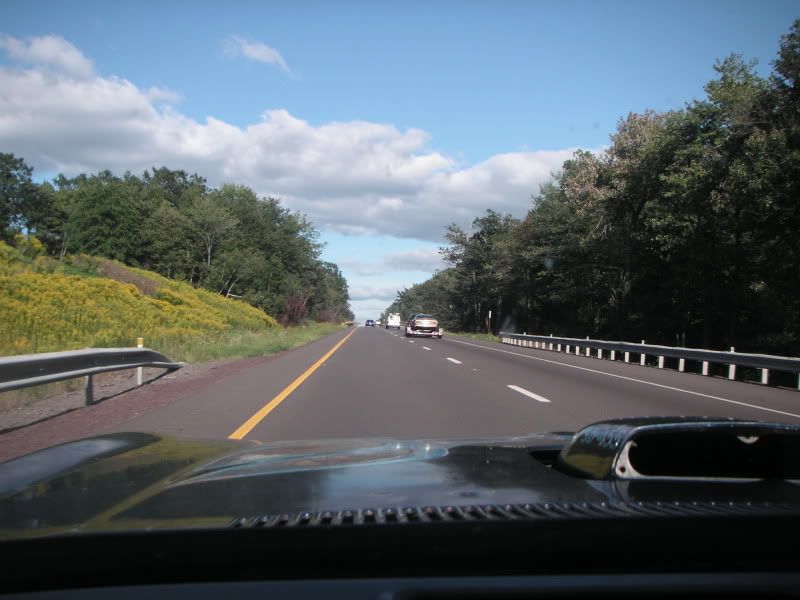
Trip home
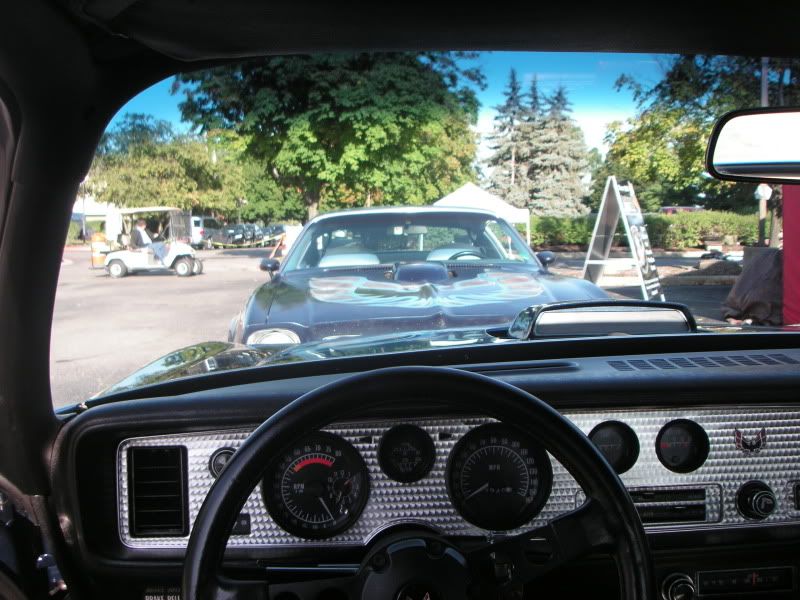
Drivers POV (Being very reserved here)
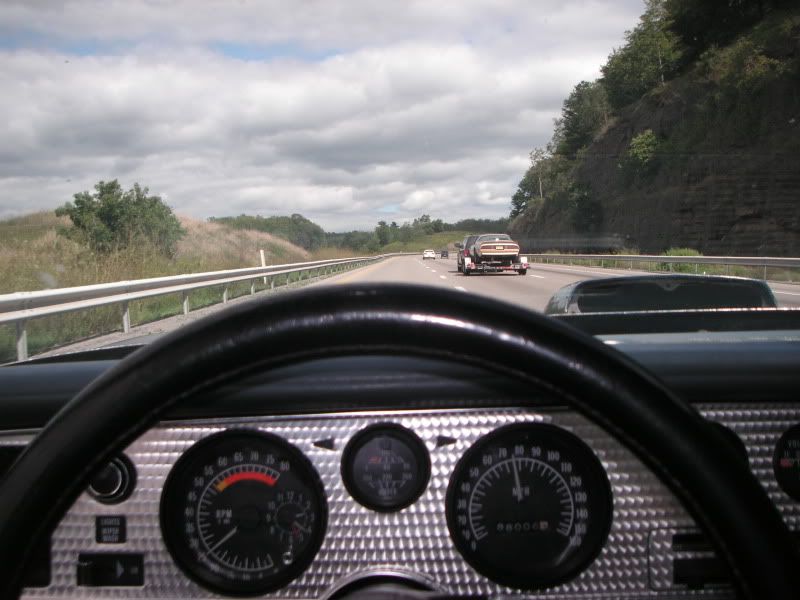
Western PA

Arrival home after 1300+ mile trip and closure of new chapter in the cars history.