Made some progress over the weekend. I decided to make my own dash harness to hook up the gauges. This is definitely the way to go and it's not too difficult if you take your time. Here's how I did it.
BTW (Well don't order the wiring harness from Classic Dash, it doesn't work like they say it does. I was under the impression you remove the pins out of the factory harness and plug them in to their harness. Once I tried to plug my wires in to their harness they won't fit so I called them up to see what the deal was and this time they tell me to plug my wires back in to the factory harness and cut the factory wires an inch back of the harness in case I ever wanted to re-install the factory gauges. Then crimp on the new spades in the kit to the cut wires and then plug in to their harness.

I said to the guy what good is your plug and play harness then? I realize the kit is for their Autometer gauges and the "Gauge" side of the harness is plug and play for the Autometer gauges but "Big Deal". I didn't want to modify the factory wires to begin with and I told the guy the first time I called I was using Speedhut gauges so I didn't care about the gauge side of the harness just the car side of it. Now I have to pay a $35 restocking fee. I'm a little frustrated to say the least. Knowing what I know now "which they did when I called the first time" I would tell you not to waste your money on this kit for this type of application because no matter what you do it will never be plug and play to the cluster wires on the car.)
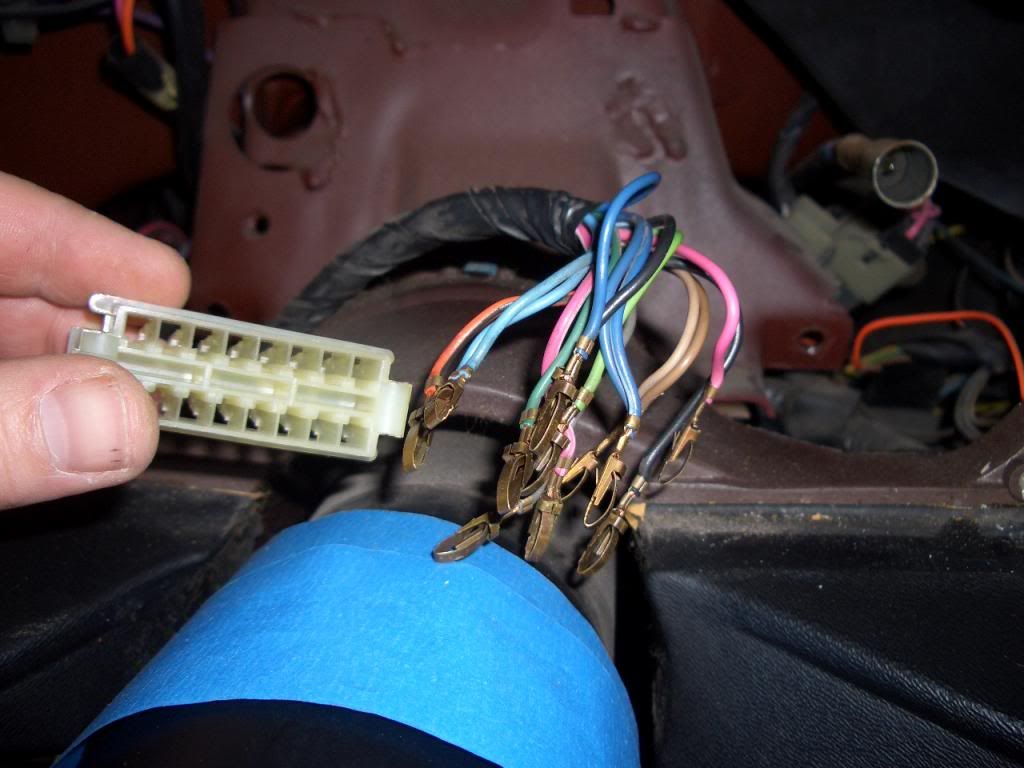
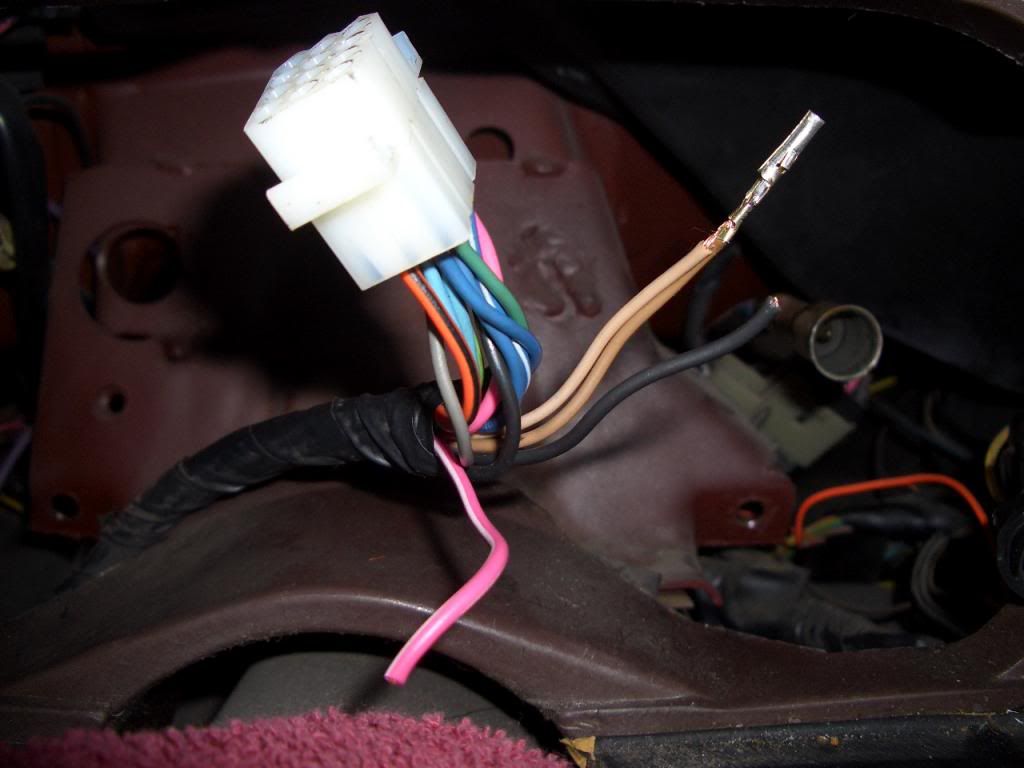
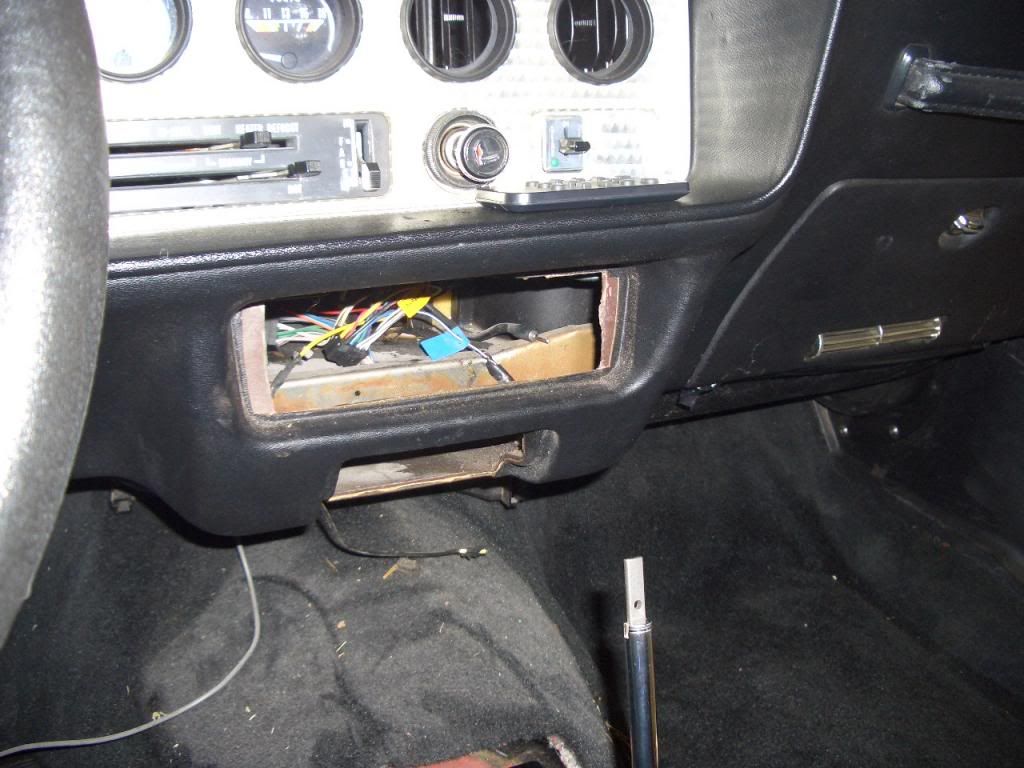
Original wiring from the cluster

Remove all the factory pins, I used a pick to get them to release.
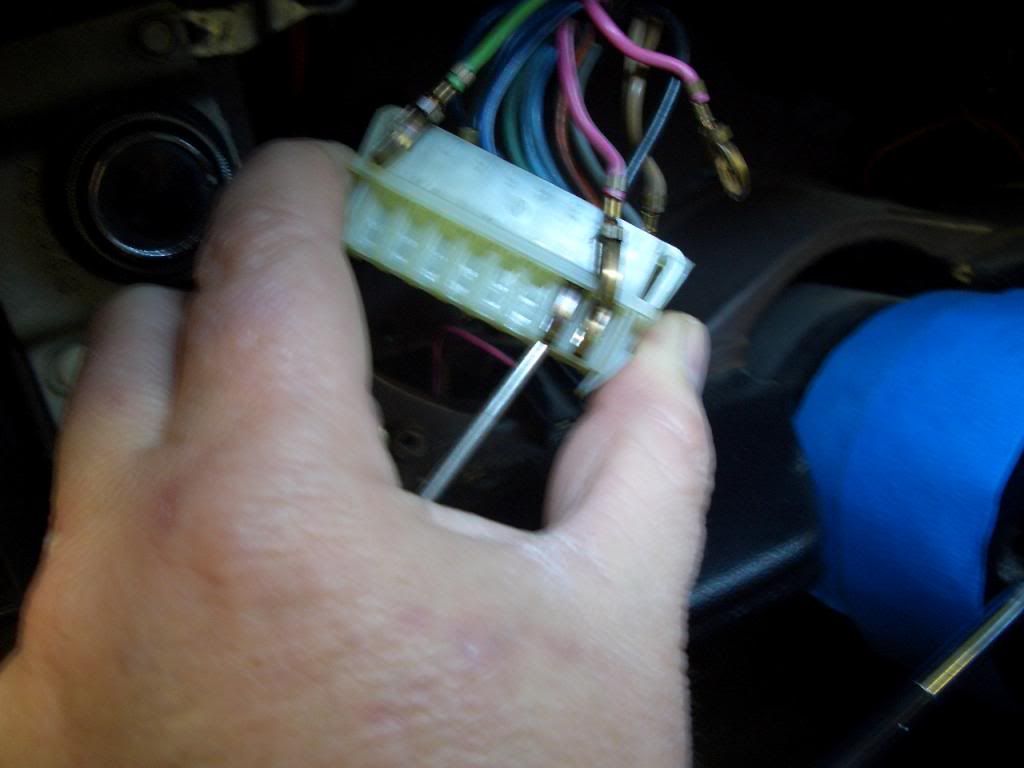
I'm saving my plug just in case I want to reverse this later.
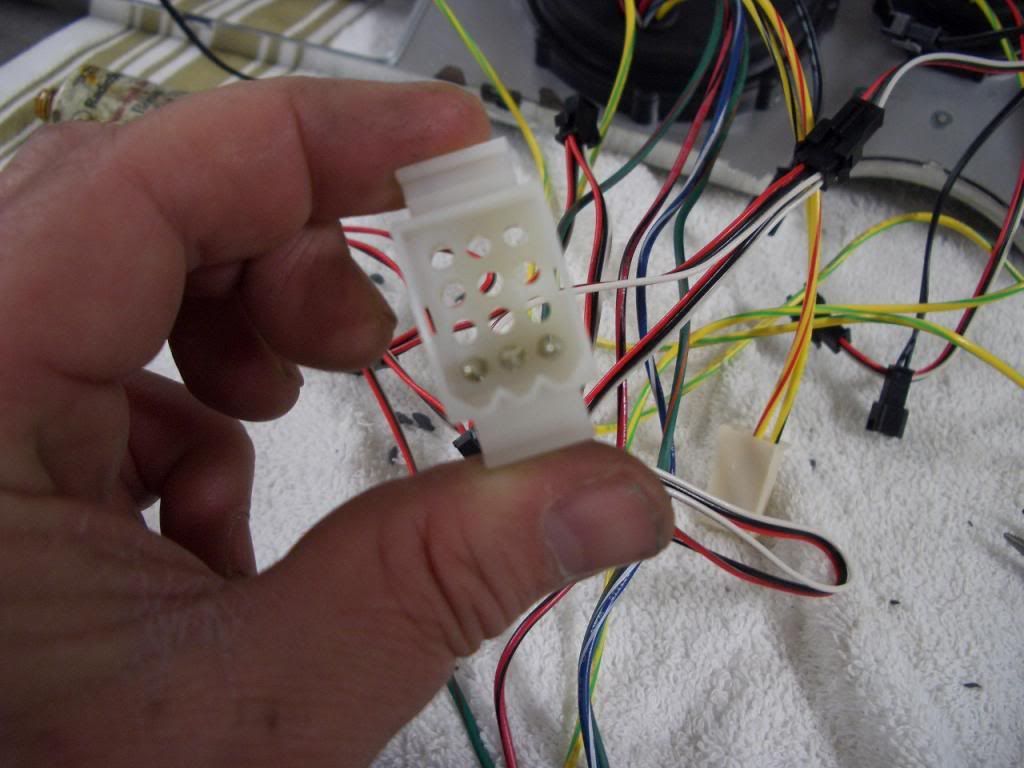
I went to Radio Shack and bought a 12 pin male and female harness. $10
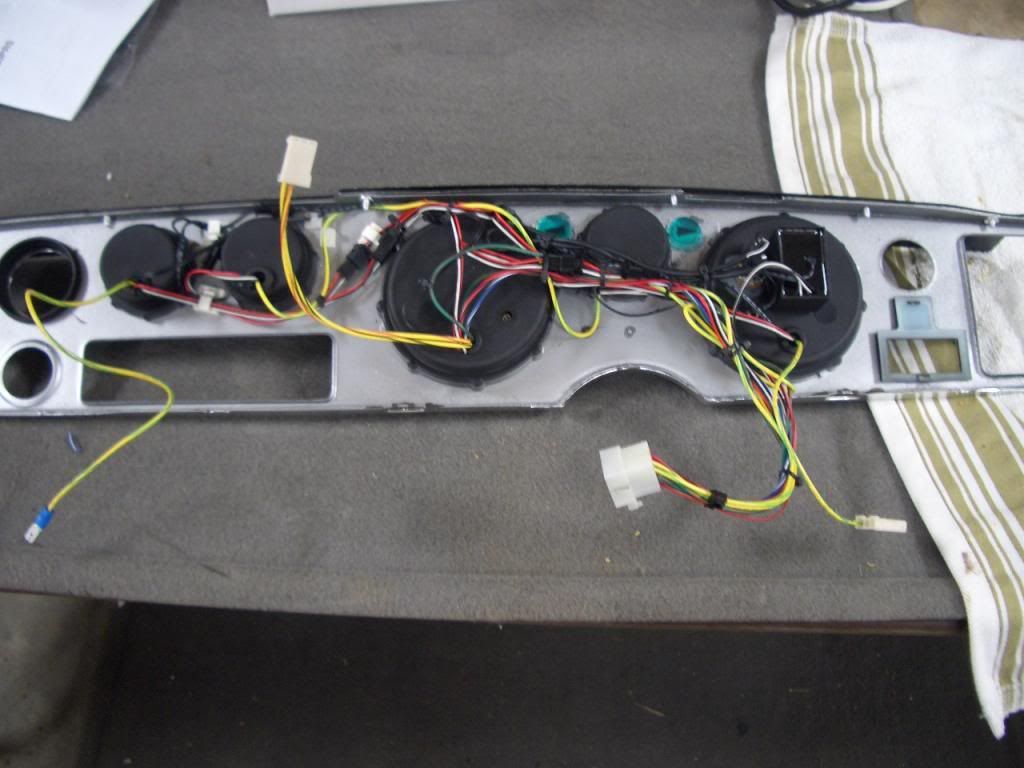
Then I wired the gauges in to the harness. I soldered all the pins to the wires.
Did the same thing on the dash side. I just made sure that all the wires went in the right location. I had a wiring diagram for the car and one for the gauges. There were 3 wires I didn't need on the car so I just capped them off. I used to stock Voltage and Fuel sending unit harnesses on the car to hook those gauges up. No need to change those with the right spade connector on the gauge wiring.
Here's what the gauge wiring looked like when I was done and ready to install it in the car.
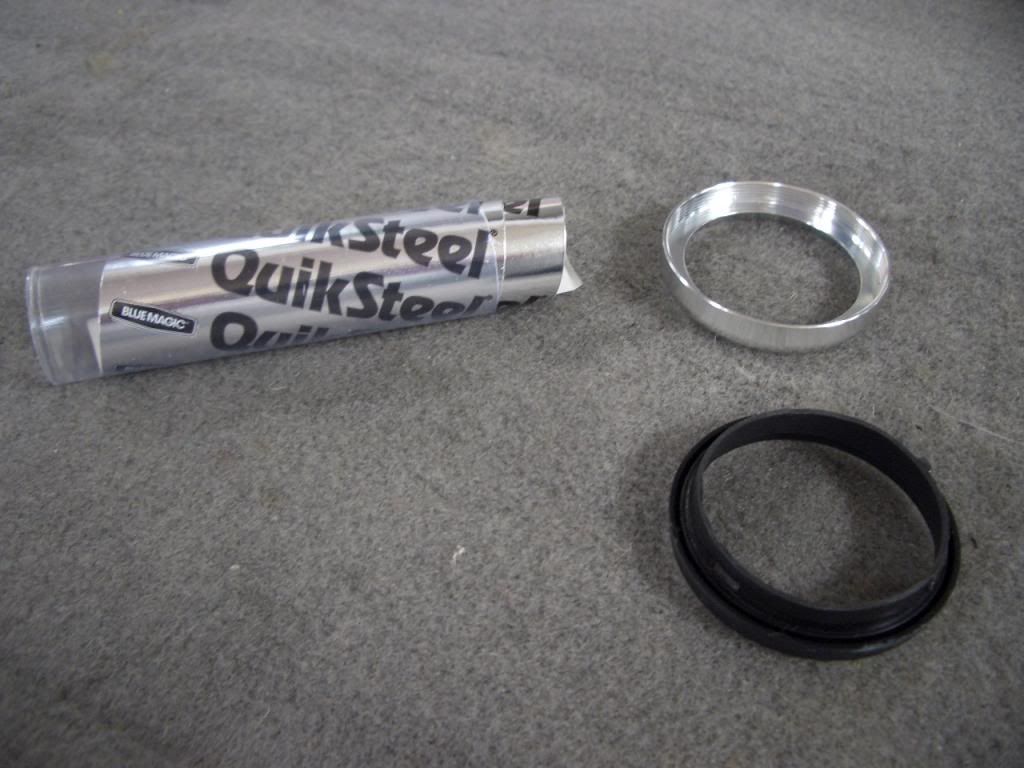
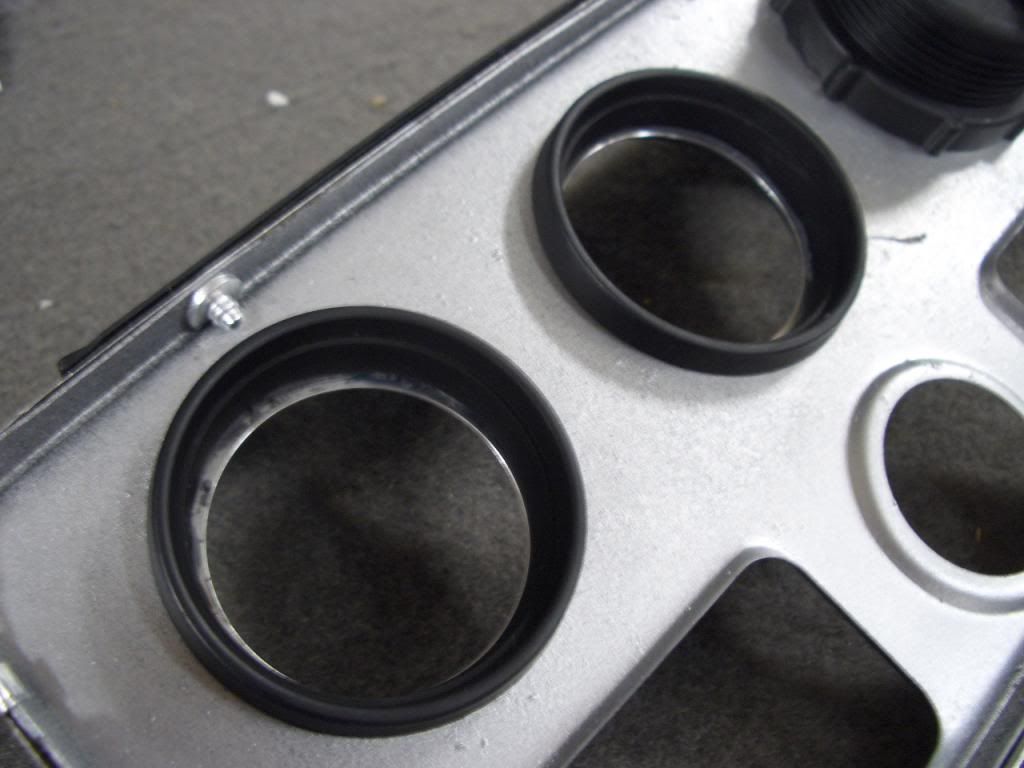
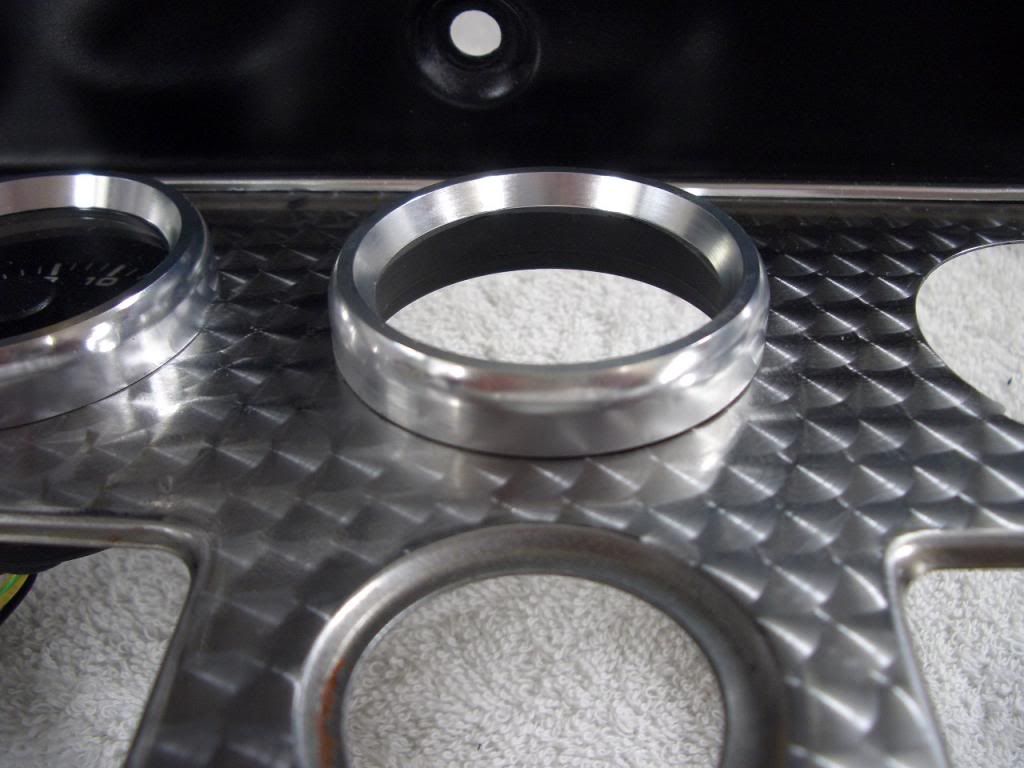
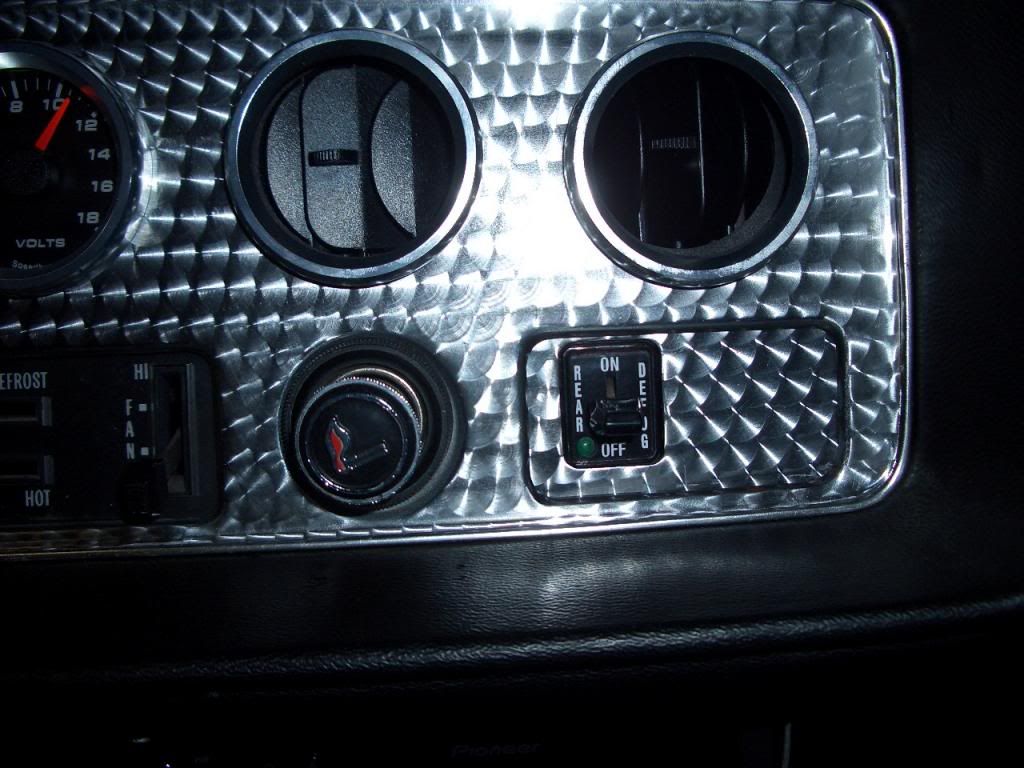
I also ordered 2 extra matching bezels to go around the A/C vents. I had to do some modifying here. The original black bezels recessed back to meet the A/C vent box so if they aren't there you would see a space between the dash bezel and the vent box. So I decided to put the orginal bezels in backwards and took a dremel and ground them down so they sat flush with the new gauge bezel on the front.
I also freshened up my rear defrost switch with a sticker from a forum member.

Not the best picture but it turned out great.
My cigarette lighter wasn't working so I ordered a new one two weeks ago and it hasn't shipped yet. I wanted to get the dash back together yesterday so I could move on to other things so I decided to try and find a replacement at the auto parts store. Nothing worked with the factory lighter.
I didn't take any pictures but my lighter housing was pretty rusty so I used some naval jelly to dissolve the rust on the lighter and the housing. Then I took some mag wheel cleaner with acid and finished everything up with that. The lighter works great now. I even got the light working for the lighter housing.
I had a silver faced Cd player in the dash and to me it looked to aftermarket if you know what I mean so I went looking for a black Cd player to replace it. I ended up with a Pioneer after much research. It's almost completely black when turned off and you can adjust the lighting to match the dash lights.
Here is a link to the Cd player
http://www.pioneerelectronics.com/PUSA/Car/CD-Receivers/DEH-80PRSCd player removed
New Cd player installed; my factory dash bezel that surrounds the radio was cracked but you can't see it unless you look from underneath so I just left it that way. I may change that later we'll see.


Here is a few pictures of the final install of the dash with the gauges powered up.
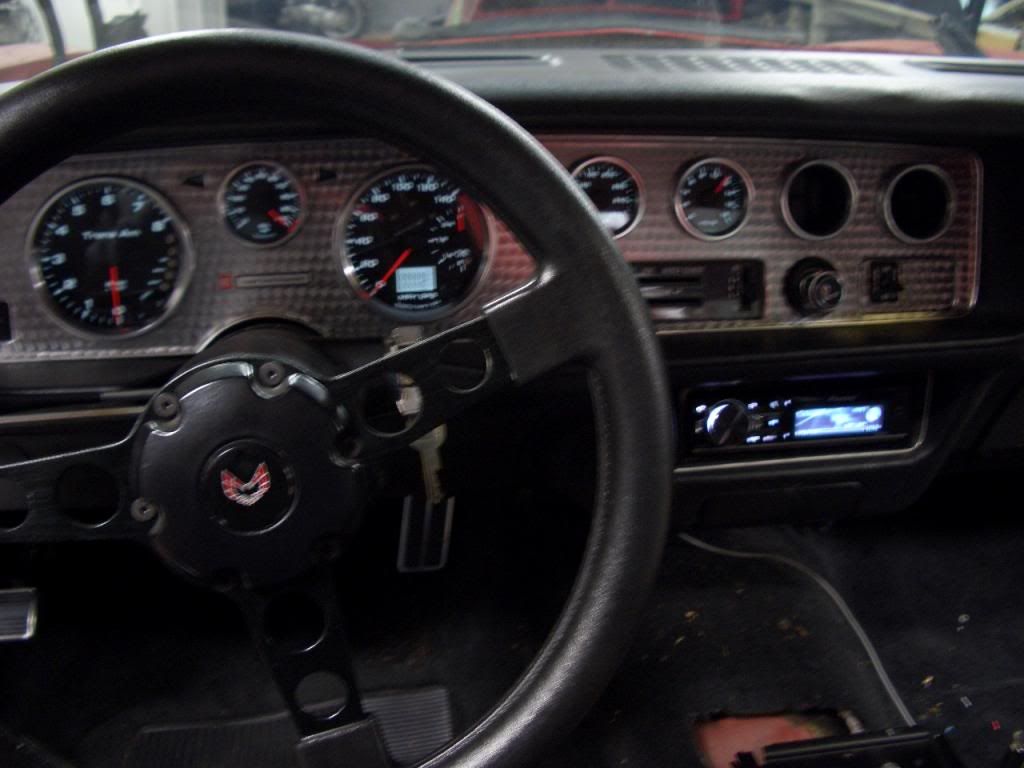
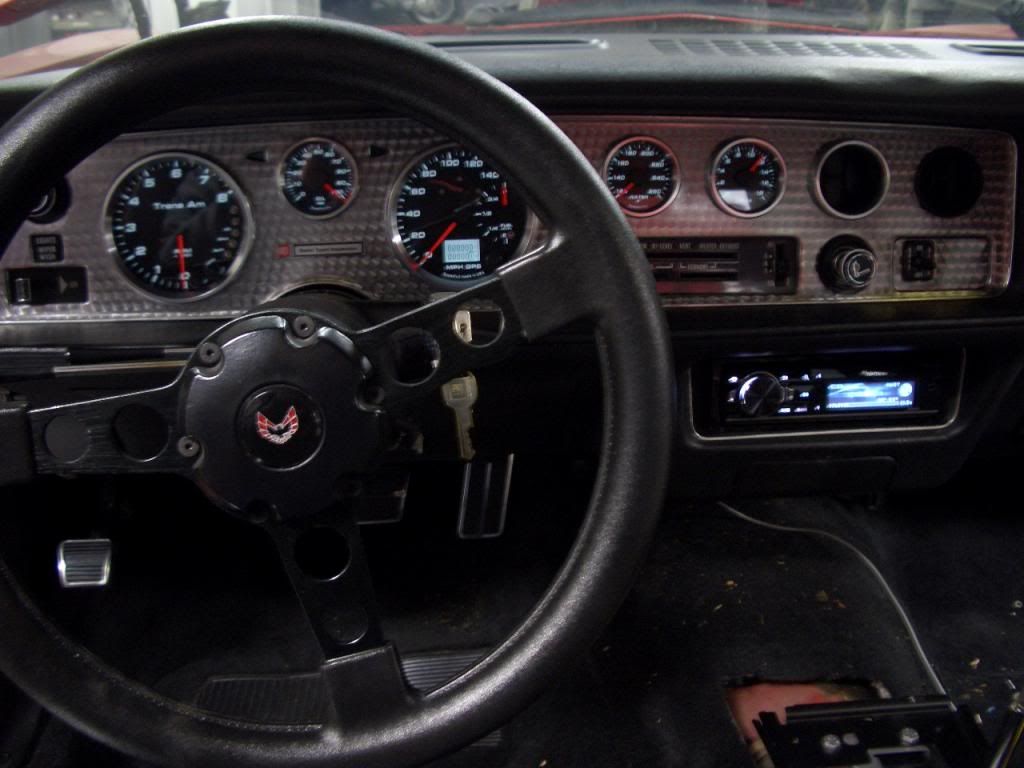
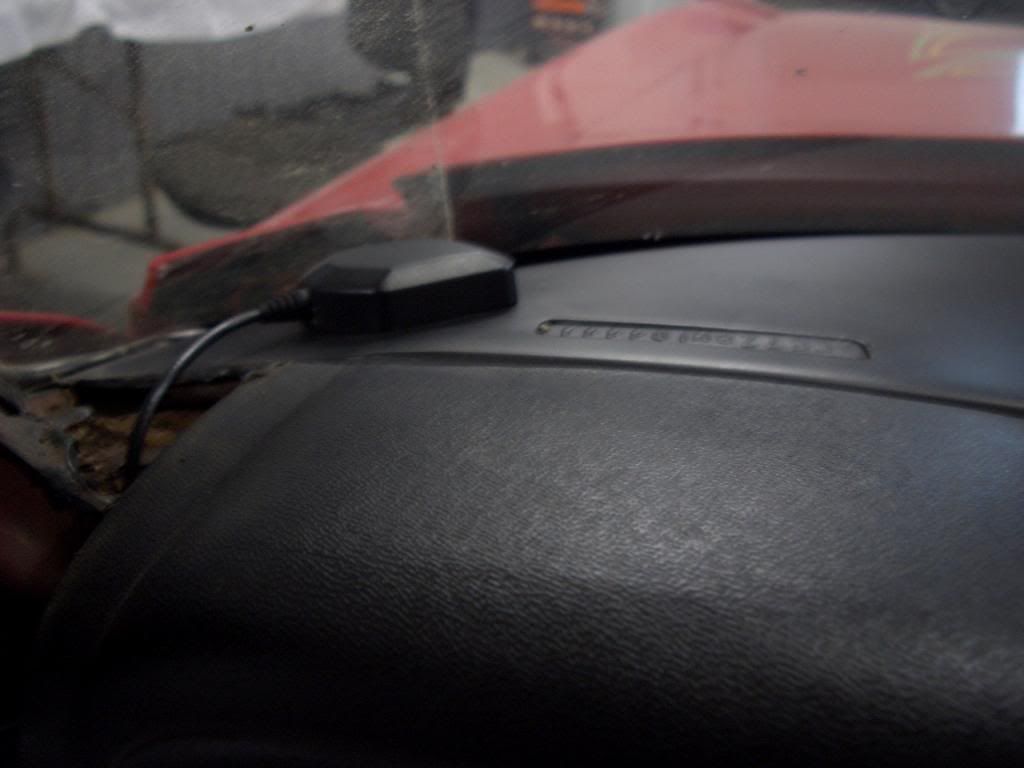
This is the GPS for the speedometer. It's magnetic so it works perfect on the front of the dash.
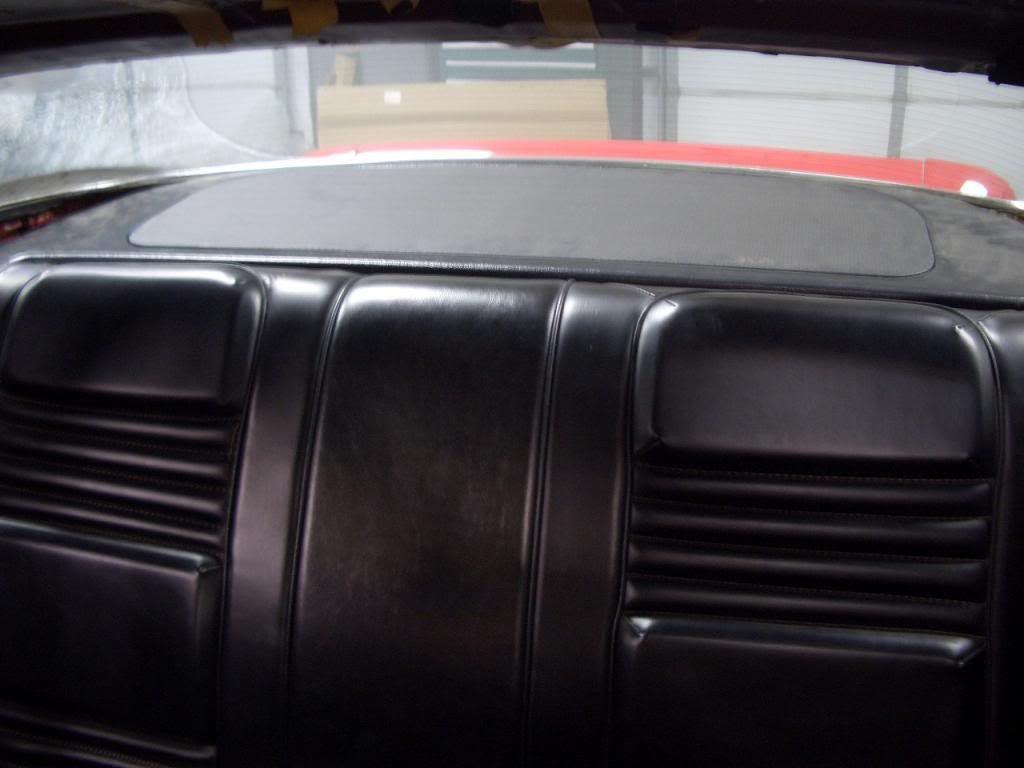
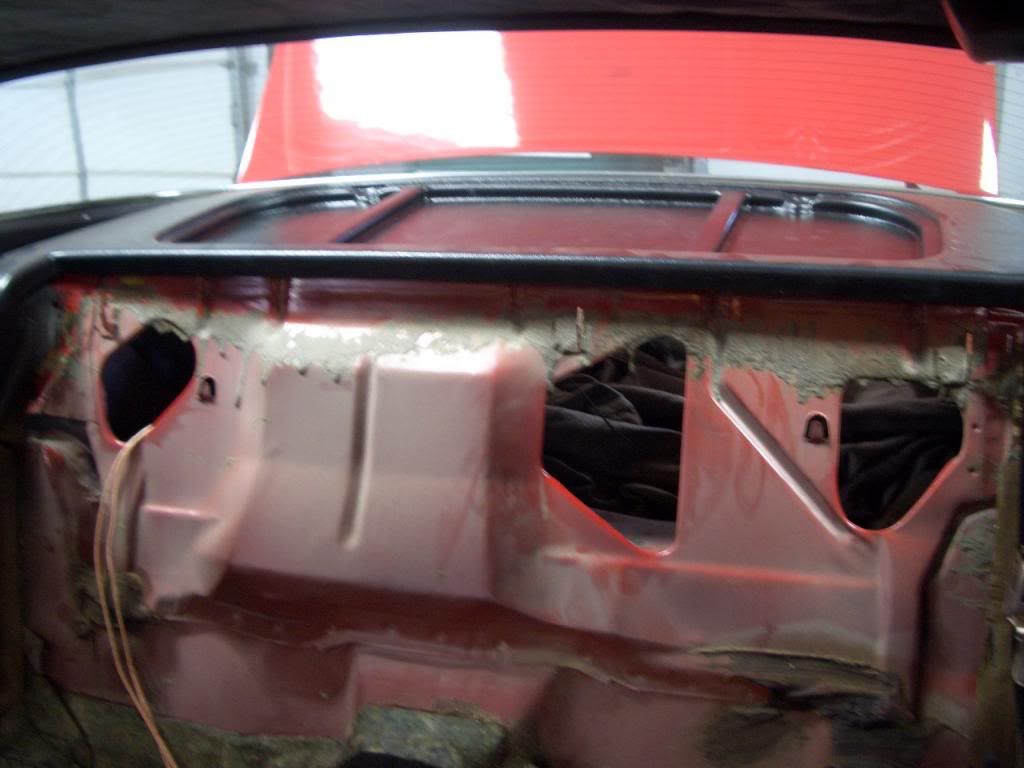
With the dash buttoned up I started to work on the rear deck. I bought a year one package tray. Not sure if I like it or not. I probably wouldn't do it again but I have it so I'll use it. It looks like cheap plastic "because it is" but I wish it didn't have so much gloss to it. I'm going to leave it for now and see how it looks when I armor all my interior to see how it matches later.
You will need to mount your speakers from underneath the rear deck if you want to use the year one package tray as well which is no big deal.
I'm using peal and seal from Lowes for sound deadening. I read 10,000 threads on sound deadening material over the last two months. I know there is better stuff to use than what I'm using but a lot of guy's with high dollar cars are using peal and seal and like it. Plus you got to remember I have a 78 Trans Am with a 461 stroker motor and T Tops. Not much is going to quiet this thing down anyway so I went with the cheap alternative.
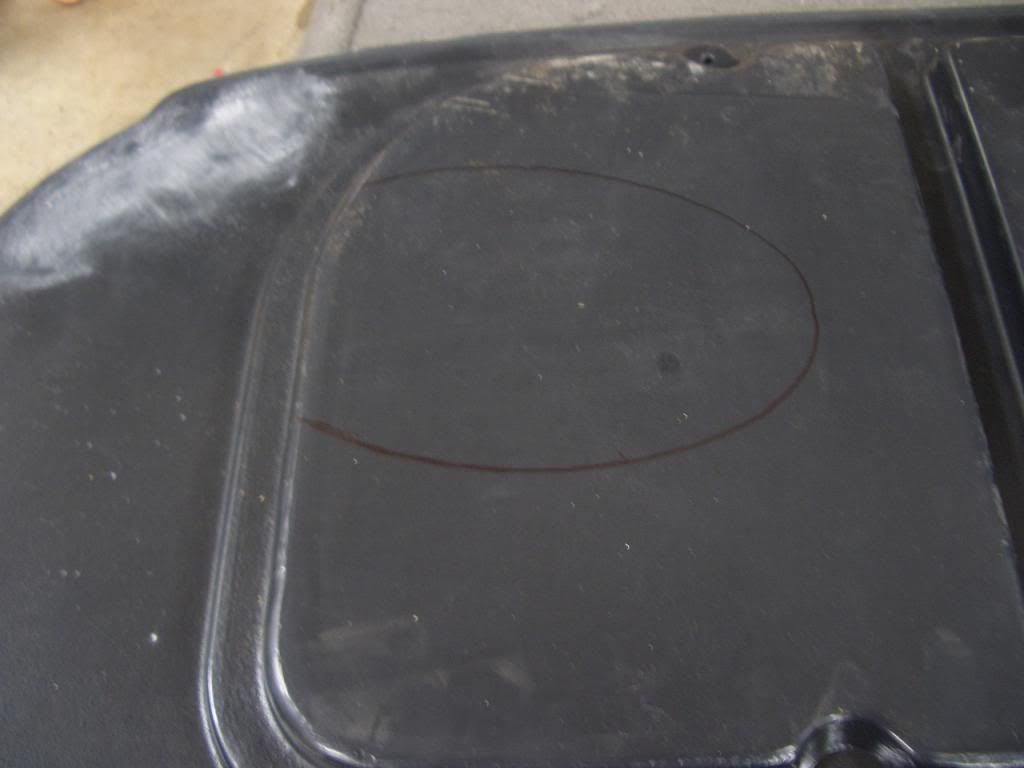
Now to get the package tray ready. Notice when I marked the 6x9 holes that the package tray will cover some of the speaker. Not a big deal though.
Here's the finished product. The speaker cover that comes with the package tray is very nice but will definitely reduce sound quality. It's very restrictive.